
|
|
 |
|
|
|
Welcome to the Australian Ford Forums forum. You are currently viewing our boards as a guest which gives you limited access to view most discussions and inserts advertising. By joining our free community you will have access to post topics, communicate privately with other members, respond to polls, upload content and access many other special features without post based advertising banners. Registration is simple and absolutely free so please, join our community today! If you have any problems with the registration process or your account login, please contact us. Please Note: All new registrations go through a manual approval queue to keep spammers out. This is checked twice each day so there will be a delay before your registration is activated. |
|
|||||||
 |
|
|
Thread Tools | Display Modes |
|
|
|
|
#1 | ||
|
FF.Com.Au Hardcore
Join Date: Sep 2009
Location: Brisbane, Qld
Posts: 683
|
Hey Hey,
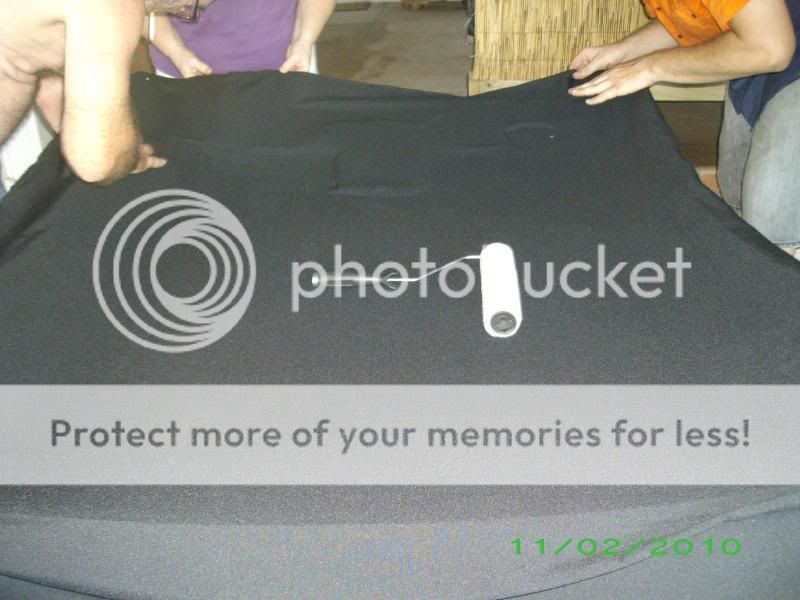
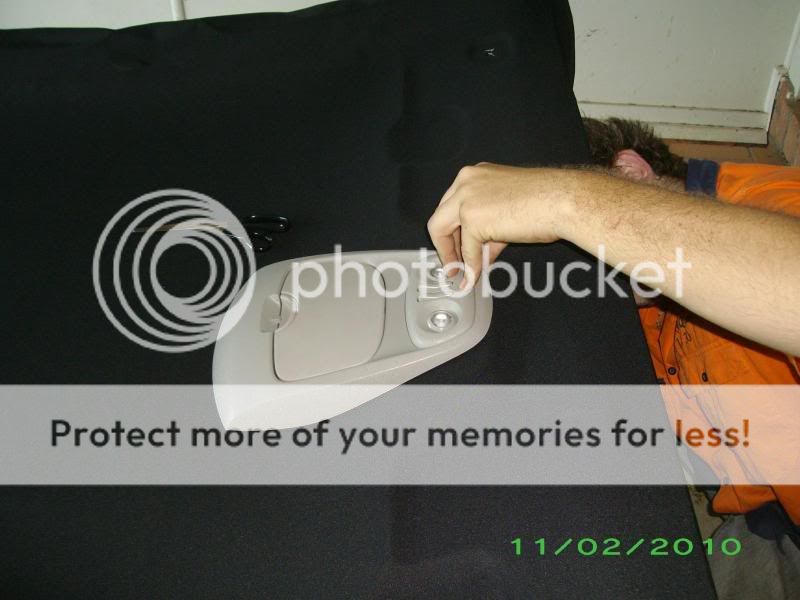
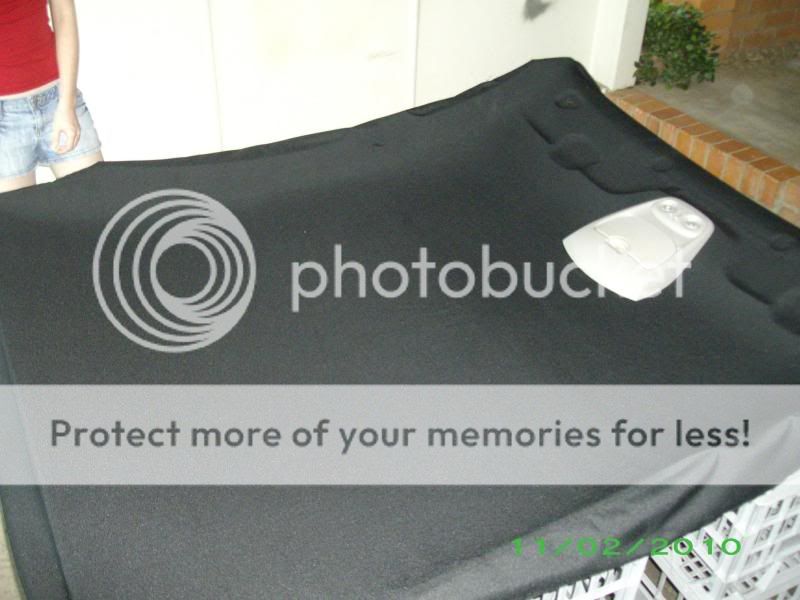
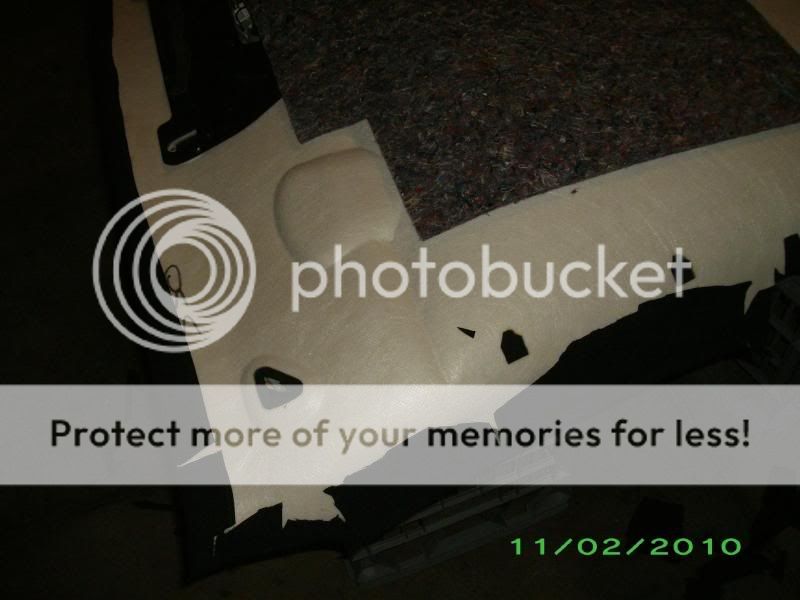
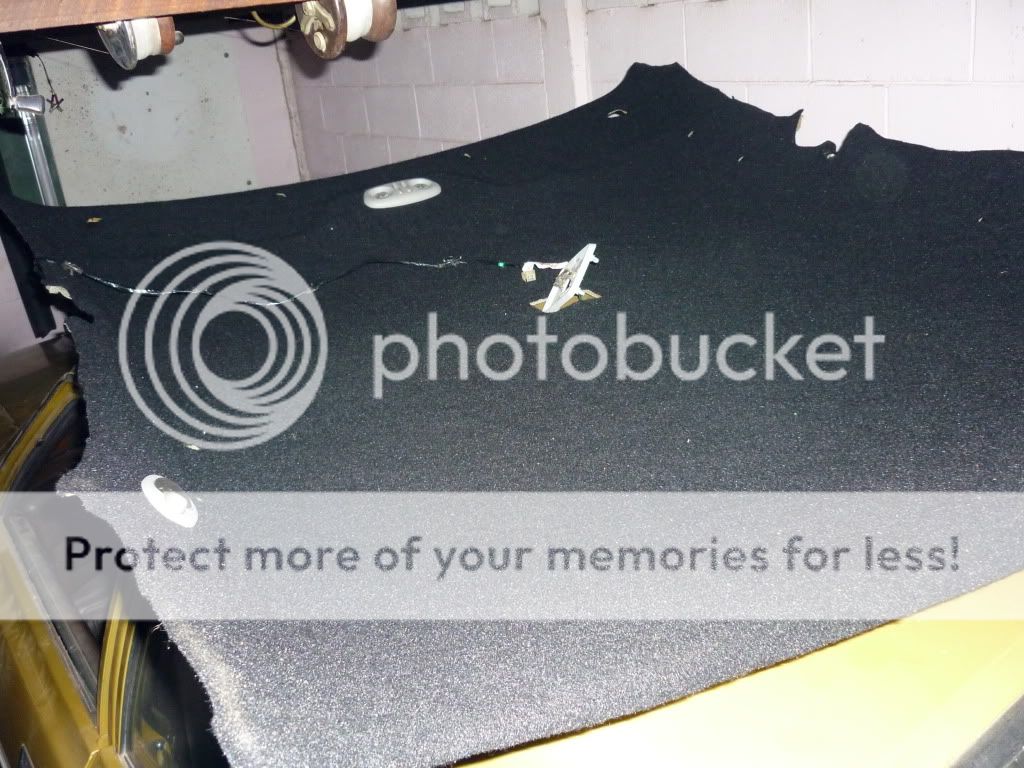
I'm replacing the fabric on my roof lining board as it is falling down and dropping foam everywhere, This is a guide to help you do it. WARNING The roof lining board is like fiber glass and gets stuck in your arms and fingers so please use gloves and don't rub the board with your fingers to remove the yellow foam like i did. Use a stiff brush or be gentle with a paint scraper. Tools Required: Philips screw driver. Rubber/latex gloves that go past your elbows. Step 1 Remove screws holding in each sun viser, Sun viser locks, Handles and hooks. Easy. Step 2 Have clean hands and pull down the rubber seal around the top of the doors. Mine were rather tight to pull off so pull harder if they wont move. Step 3 Remove both front piller trims by pulling gently from the top working your way down along the 2 clips then removing from the top of the dash board. The center piller seat belt trims pull off from the top 1st and you can let them sit on the belt down beside the seat. The 2 rear piller trims pull down from the top 1st and pop out 3 of the clips and leave the trim in place. You only need to pull the tops of the rear piller trims out to release the roof lining. Step 4 Unplug the front map lights from the back of the light casing. Pop out the center light and you can either pull the thick foam from the roof side off then pull the wiring out or just cut the wires to save the risk of kinking the board. Easy to solder them back up later. Step 5 Remove the two rear trim plugs near the back window holding the roof lining up. By now the lining should be sitting on the parcel shelf and the front seats. Step 6 Lay both front seats down flat and open all doors. Twist the drivers side of the lining down and lift the passenger side up to the roof and turn the lining anti clockwise so the front drivers side is down near the gear stick and GENTLY fold it a tiny bit and pull it out the passengers door. Easier with 2 people. Sorry i didn't get photos of removing it but it took about 15 mins to get out. Use the old fabric as a template. 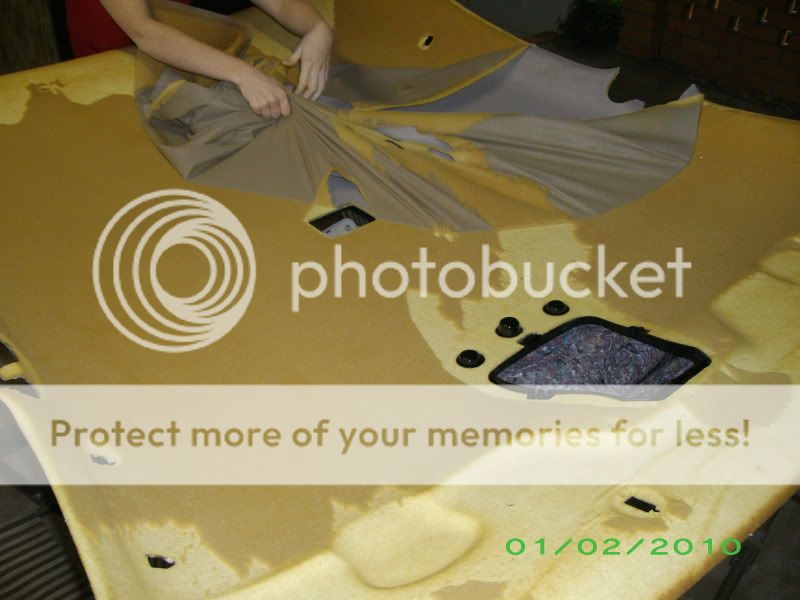 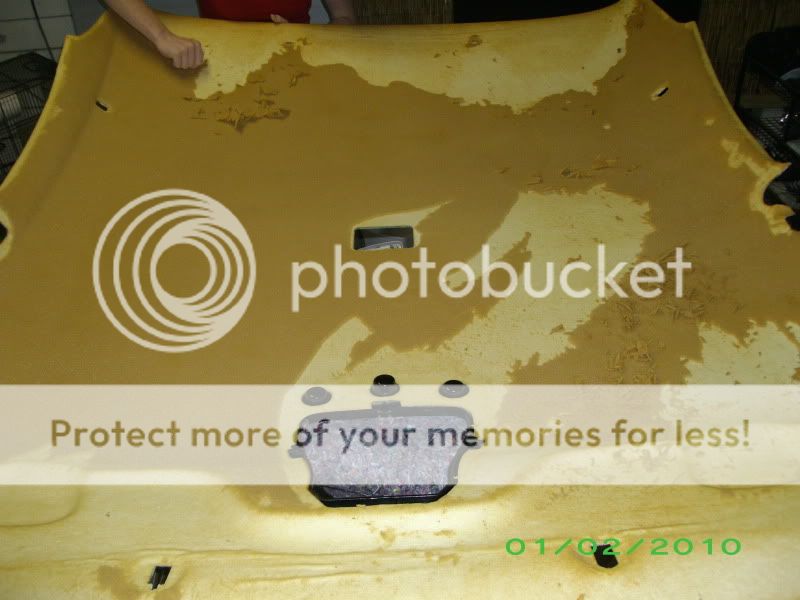 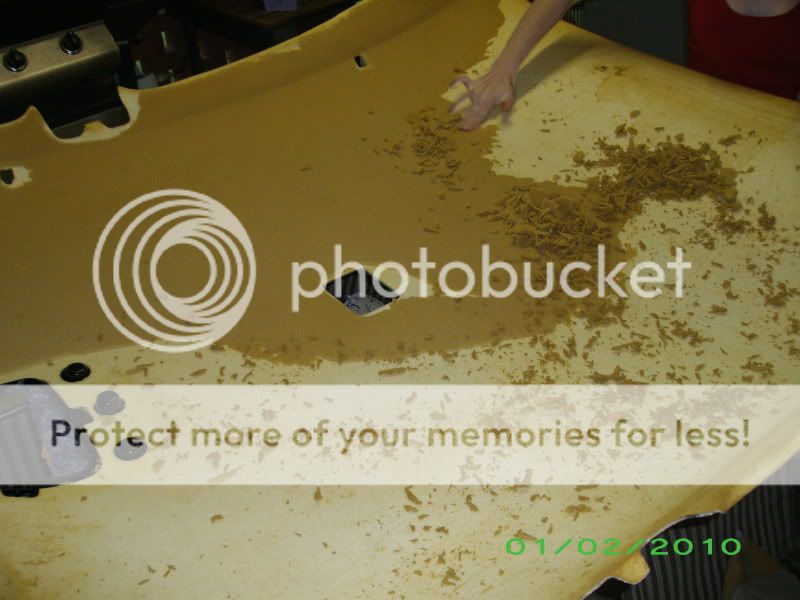 Its me doing the wrong thing and getting itchy arms and fingers. 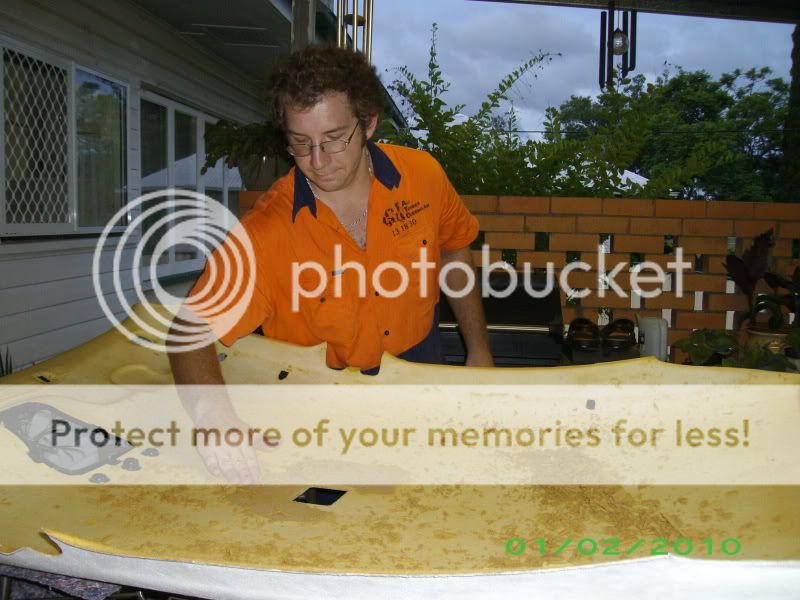 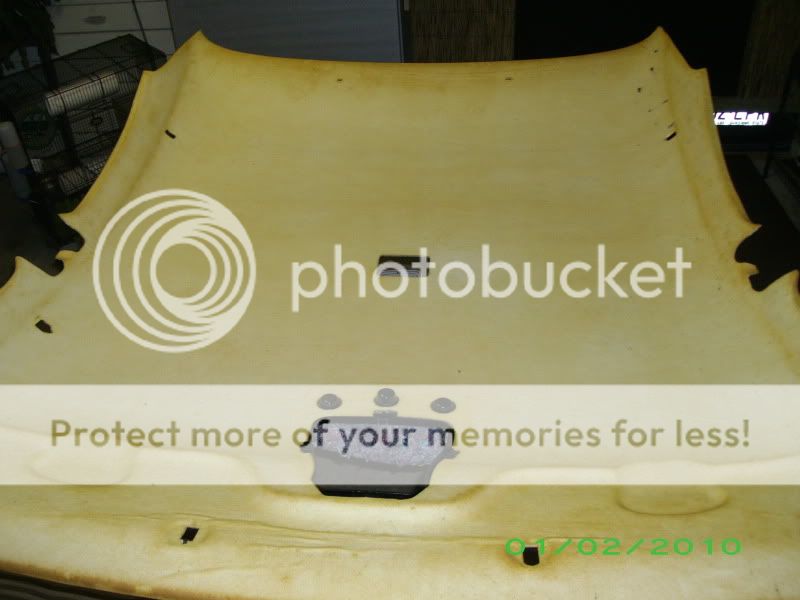 Frame for the glasses holder. 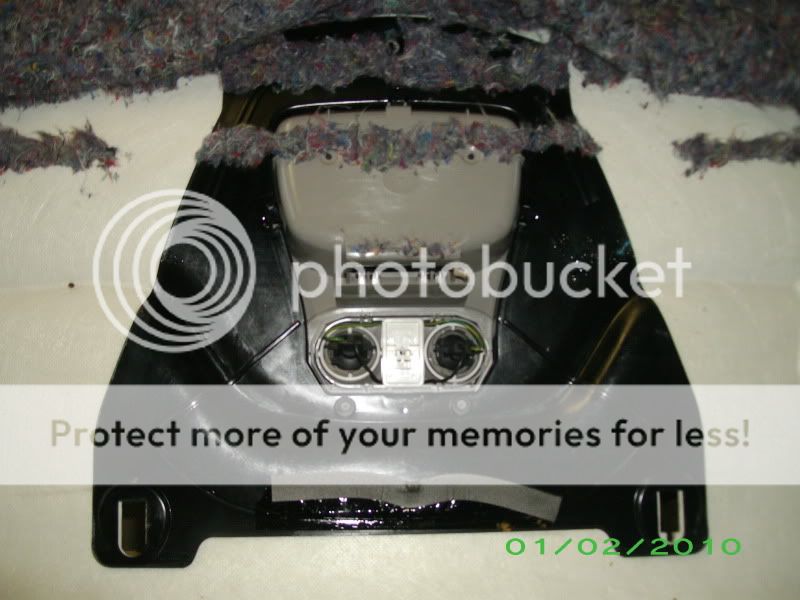 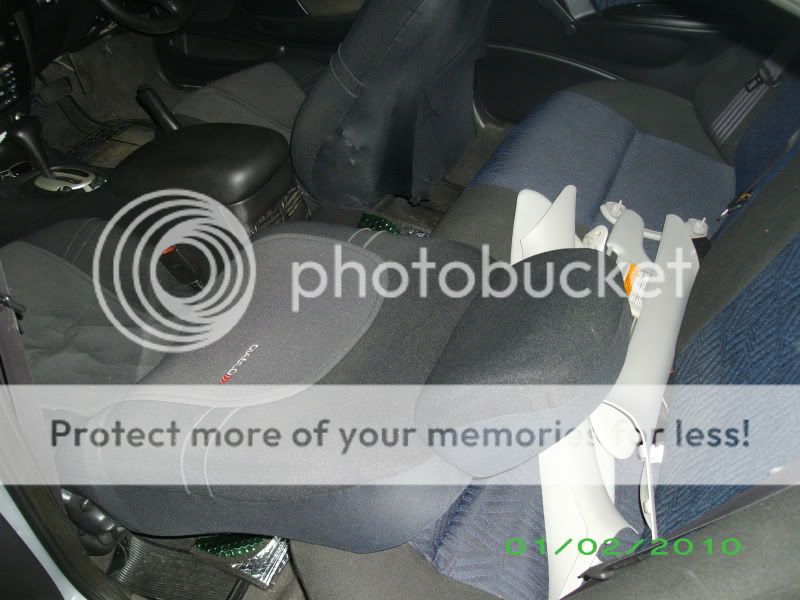 These casting marks with need to be sanded down flat before applying new fabric.  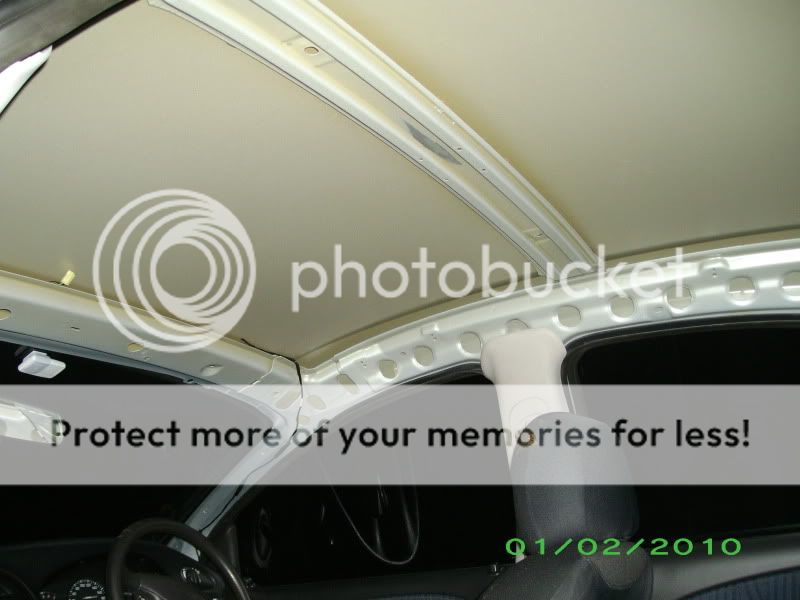  Glueing fabric and reinstalling coming soon.
__________________
AU XLS. |
||
|
|

|
|
|
#2 | ||
|
Treasure your balls?
Join Date: Jul 2005
Location: NW Melbourne
Posts: 2,570
|
Great write up! Be interesting to see how you go reinstalling as I thought the windscreen had to come out.
__________________
Meteorite T3 TS50 ESS |
||
|
|

|
|
|
#3 | ||
|
FTF Club Moderator
Join Date: Jan 2005
Location: Driving my Tickford T3 Wagon in Sydney
Posts: 3,132
|
Excellant write up. I am looking at doing something with my roof lining. Black interior and satin black pillars and a light grey roof lining.
__________________
Albert Einstein: Es ist schwieriger, eine vorgefaßte Meinung zu zertrümmern als ein Atom. (It is more difficult to alter a preconception than split an atom) Falcon Tickford FPV (FTF) Car Club of NSW Fords in the Park 2010 I use and recommend Stingray Car Security. http://www.stingraycar.com.au/ |
||
|
|

|
|
|
#4 | ||
|
Flairs - Truckers Delight
Join Date: Aug 2006
Location: Brisbane Northside Likes: Opposite Lock
Posts: 5,731
|
That's a great writeup beer baron. My brother has recently done this in his bommodore and whilst being a handy fella, it still took him several hours and $70-80 in materials (the proper roof lining and spray adhesive etc) and ended up with a result that was good, but if a shop did it on mine i'd be unhappy with.
On the other hand, an old dude i work for had it professionally done in his EL for about $180 and it looks perfect. I'm not saying that either tack is better, essentially you have to decide how good your skills are and what your time is worth. Also remember these places can do different materials too! I had the fortune of navigating Grandpa Spec AU's Fairmont Ghia on the weekend and it had lovely furry felt-like factory rooflining where as my forte has just the basic scratchy cloth stuff. So i need to get mine done and i'm gonna get something nice.
__________________
Current: Silhouette Black 2007 SY Ford Territory TX RWD 7-seater "Black Banger"
2006-2016: Regency Red 2000 AUII Ford Falcon Forte Automatic Sedan Tickford LPG "Millennium Falcon" Last edited by Mr Hardware; 02-02-2010 at 12:46 PM. |
||
|
|

|
|
|
#5 | |||
|
AFF Whore
Join Date: Apr 2009
Location: In between gas stations
Posts: 2,246
|
Quote:
 Fantastic guide and a great result! Going to come in handy for a lot of people. |
|||
|
|

|
| This user likes this post: |
|
|
#6 | ||
|
Treasure your balls?
Join Date: Jul 2005
Location: NW Melbourne
Posts: 2,570
|
Damn well agree a lot of effort has been put into this. Keen to see the lining going back in (without blemishes I hope).
__________________
Meteorite T3 TS50 ESS |
||
|
|

|
|
|
#7 | ||
|
FF.Com.Au Hardcore
Join Date: Sep 2009
Location: Brisbane, Qld
Posts: 683
|
Big air bubbles have formed over night so its going to the trimmers at moorooka to get done professionally for $160.
It has air bubbles where the roof lining curves to mould down to the pillars. I reckon i have put at least 8 hours into it and i have failed. Disappointed but at least i gave it a go 
__________________
AU XLS. |
||
|
|

|
| 2 users like this post: |
|
|
#8 | |||
|
Next upgraded Mk1 Leopard
 Join Date: Jan 2005
Location: Sydney, in the burbs
Posts: 4,917
|
Quote:
UK
__________________
Plastic Surgery 1 AUII Monsoon Blue How 2's: Change rear view mirror, Install backfire valve, Change foam front seats, Install auto transmission cooler, Replace Trans Shift Globe, Remove front door Trim, Paint AU headlights, install door spears, Premium Rear Parcel Shelf, go here...
 |
|||
|
|

|
|
|
#9 | |||
|
FF.Com.Au Hardcore
Join Date: Feb 2008
Location: Geelong, Victoria
Posts: 4,524
|
Quote:
|
|||
|
|

|
|
|
#10 | |||
|
Starter Motor
Join Date: Dec 2006
Posts: 6
|
Quote:
 it costs close to half that to do it your self , Its not my fav job . it costs close to half that to do it your self , Its not my fav job . My next car won't be a Ford |
|||
|
|

|
|
|
#11 | ||
|
AU Falcon Man
Join Date: Jun 2007
Location: Gippsland
Posts: 928
|
considered fitting fitting a ba sunglasses holder? it should bolt right up, not sure if it would fit against the roof lining the same but looks 100 times better
__________________
2015 SZ MkII Ford Territory TS Aero Blue, RWD Petrol, Standard Sat Nav. 2013 TF Ford Kuga Ambiente Panther Black, AWD, 6 Speed Auto, 1.6lt ecoBoost Turbo Petrol. Was 2012 FG Mk2 Ford Falcon XR6 Swift Green,6 Speed Auto, Stock... 2001 AUIII Ford Falcon Forte Genuine T2 TS50 bodykit, 18" BF Cobras, Boge and Eibach Suspension and Complete AU2 Fairmont Ghia Interior 1994 EF Ford Fairmont Gun Metal Grey, Lumpy Straight 6 |
||
|
|

|
|
|
#12 | |||
|
FF.Com.Au Hardcore
Join Date: Sep 2009
Location: Brisbane, Qld
Posts: 683
|
Quote:
__________________
AU XLS. |
|||
|
|

|
|
|
#13 | ||
|
FF.Com.Au Hardcore
Join Date: Apr 2009
Location: jimboomba
Posts: 4,638
|
im looking at about 80 to 90 bucks to get my roof liner done in a black cloth, downside is im pulling the liner out and putting it back in
__________________
Welder/Fabricator at Beaudesert Exhuast Posted by Xcabbi, Does it slap or rattle? Rattle is more to do with timing chains and tensioners. Slap is more to do with lifters, rings, bearings or GENIII boat anchors |
||
|
|

|
|
|
#14 | ||
|
FF.Com.Au Hardcore
Join Date: Sep 2009
Location: Brisbane, Qld
Posts: 683
|
Tomorrow i will be glueing the fabric to the board and I'm taking many photo's
__________________
AU XLS. |
||
|
|

|
|
|
#15 | ||
|
FF.Com.Au Hardcore
Join Date: Sep 2009
Location: Brisbane, Qld
Posts: 683
|
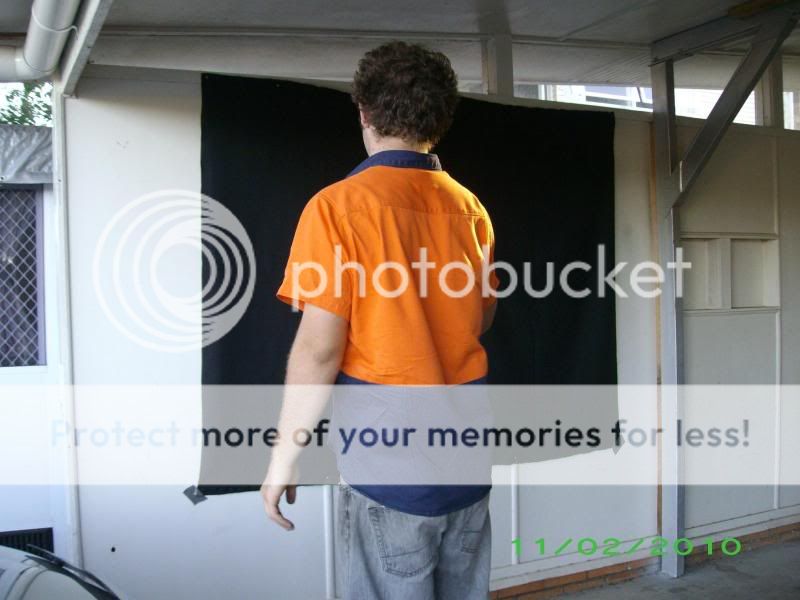
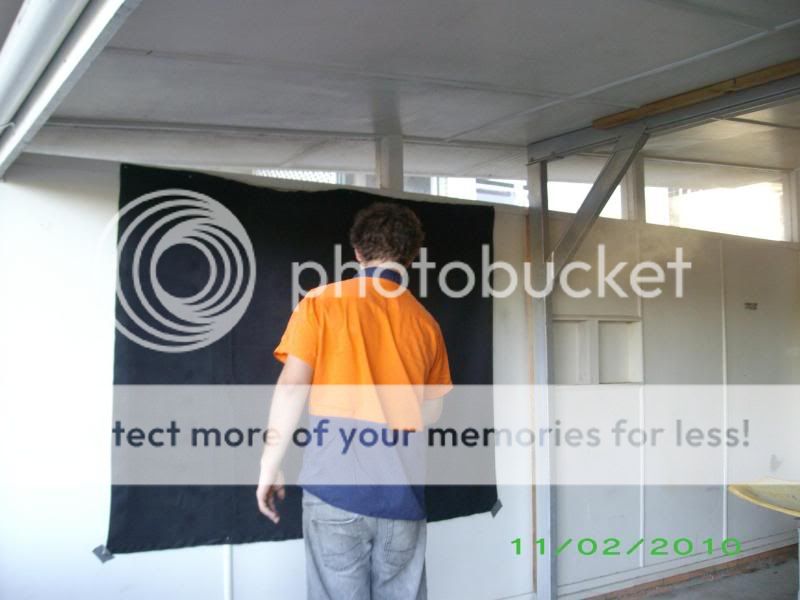
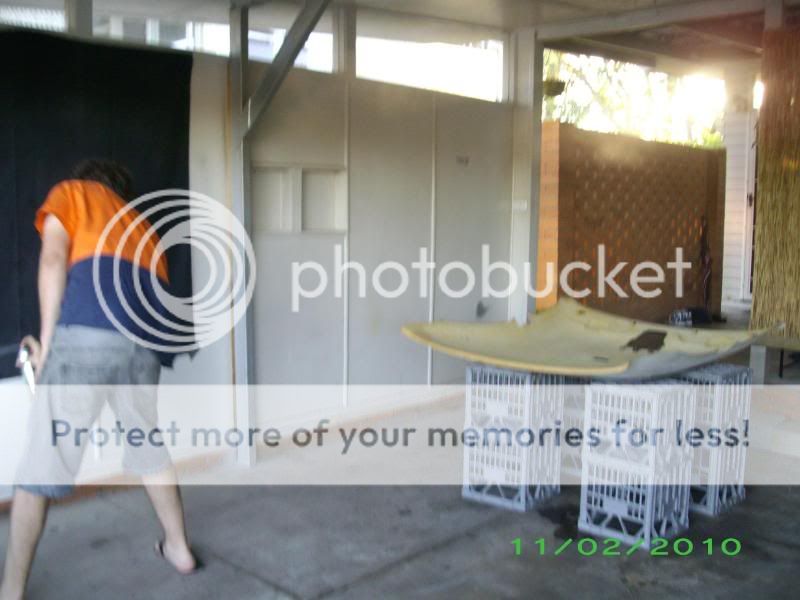
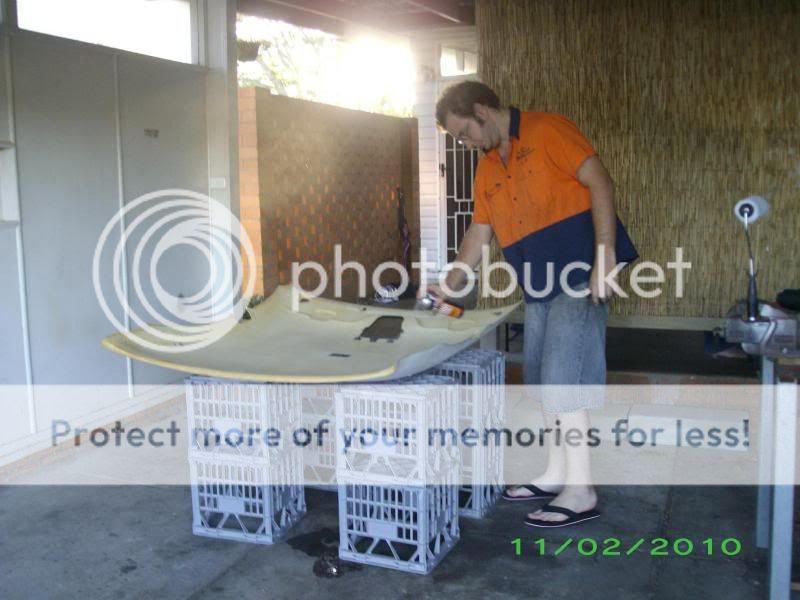
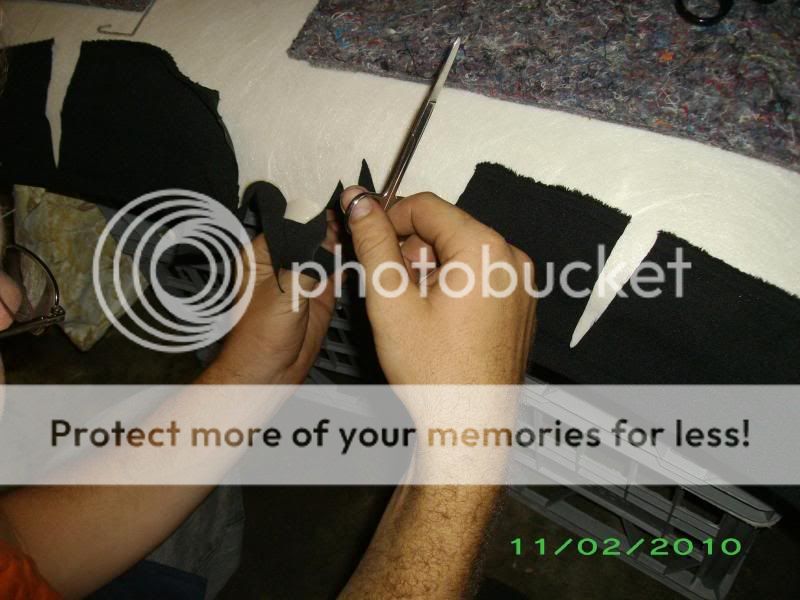
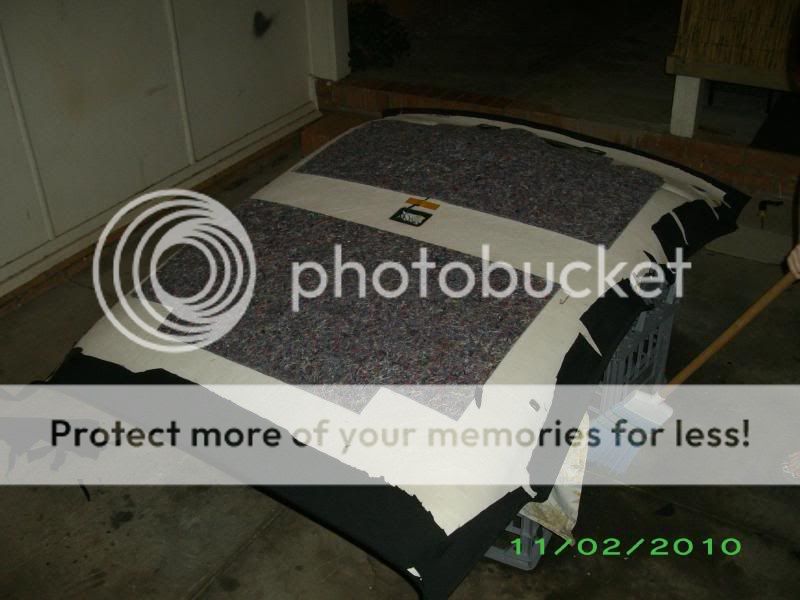
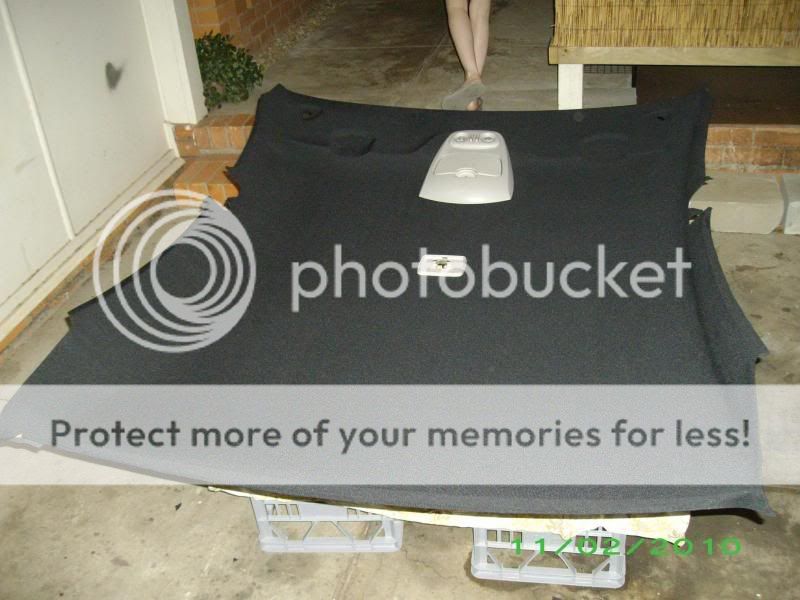
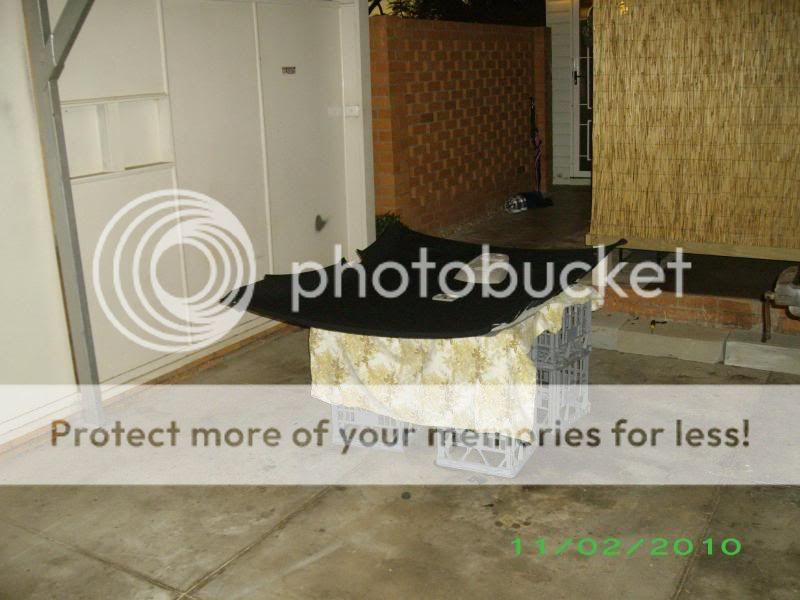
Fabric glued on, Ready to be put back in the car.
__________________
AU XLS. |
||
|
|

|
|
|
#16 | ||
|
FF.Com.Au Hardcore
Join Date: Sep 2009
Location: Brisbane, Qld
Posts: 683
|
Would i do it again ? Hell no.
Would i do this for anyone else ? NO.
__________________
AU XLS. |
||
|
|

|
| This user likes this post: |
|
|
#17 | |||
|
Flairs - Truckers Delight
Join Date: Aug 2006
Location: Brisbane Northside Likes: Opposite Lock
Posts: 5,731
|
Quote:
__________________
Current: Silhouette Black 2007 SY Ford Territory TX RWD 7-seater "Black Banger"
2006-2016: Regency Red 2000 AUII Ford Falcon Forte Automatic Sedan Tickford LPG "Millennium Falcon" |
|||
|
|

|
|
|
#18 | ||
|
Next upgraded Mk1 Leopard
 Join Date: Jan 2005
Location: Sydney, in the burbs
Posts: 4,917
|
Good job, you are correct. I reckon it would be a hard job.
UK
__________________
Plastic Surgery 1 AUII Monsoon Blue How 2's: Change rear view mirror, Install backfire valve, Change foam front seats, Install auto transmission cooler, Replace Trans Shift Globe, Remove front door Trim, Paint AU headlights, install door spears, Premium Rear Parcel Shelf, go here...
 |
||
|
|

|
|
|
#19 | ||
|
FF.Com.Au Hardcore
Join Date: May 2009
Location: Victoria
Posts: 836
|
What are you planning on doing with the plastic pillar trims? (In terms of colour)
|
||
|
|

|
|
|
#20 | |||
|
FF.Com.Au Hardcore
Join Date: Sep 2009
Location: Brisbane, Qld
Posts: 683
|
Quote:
__________________
AU XLS. |
|||
|
|

|
|
|
#21 | |||
|
Starter Motor
Join Date: Nov 2011
Posts: 5
|
Quote:
|
|||
|
|

|
|
|
#22 | |||
|
Sales Representative
Join Date: Mar 2007
Location: Young
Posts: 5,314
|
Quote:
__________________
Project InfernoSR - Back Burner Project FeralTerra - No longer Project Fairmont Prodigy - Sold Thanks go to: MY WIFE! Bathurst Brakepro Undacar eBay!! |
|||
|
|

|
|
|
#23 | ||
|
ROCKING THE EL FUTURA
Join Date: Nov 2008
Location: HOW DARE YOU
Posts: 2,221
|
love the write up as im close to doing mine.
__________________
BA MK11 XR8 ENFORCER NOW SADLY GONE My build that was http://www.fordforums.com.au/showthread.php?t=11267696 ENVI BA XR6T BUILD THREAD..http://www.fordforums.com.au/showthread.php?t=11345961 TAKEN BY THE EX NOW A EL FUTURA EB MONTY NOW IN THE SHED BACK IN THE E-SERIES THREAD DIGGEr |
||
|
|

|
|
|
#24 | ||
|
Regular Member
Join Date: Oct 2009
Location: Central Queensland
Posts: 71
|
I just remove the headlining board strip all the glue and fabric off , then take it to the trimmers and let them do the recover...the last one cost me $100.00.
Great write up though Beer Baron , I am sure it is going to help lots of people. |
||
|
|

|
|
|
#25 | ||
|
Treasure your balls?
Join Date: Jul 2005
Location: NW Melbourne
Posts: 2,570
|
Has the roof lining been reinstalled? Be interested to know how you went.
__________________
Meteorite T3 TS50 ESS |
||
|
|

|
|
|
#26 | |||
|
FF.Com.Au Hardcore
Join Date: Sep 2009
Location: Brisbane, Qld
Posts: 683
|
Quote:
I might get it in this weekend as all i have to do is mow.
__________________
AU XLS. |
|||
|
|

|
|
|
#27 | ||
|
FF.Com.Au Hardcore
Join Date: Apr 2009
Location: jimboomba
Posts: 4,638
|
160 bucks???? i just got mine re trimmed in black for 90 bucks and its perfect, theres a auto trimmer place just past coles in beaudesert
__________________
Welder/Fabricator at Beaudesert Exhuast Posted by Xcabbi, Does it slap or rattle? Rattle is more to do with timing chains and tensioners. Slap is more to do with lifters, rings, bearings or GENIII boat anchors |
||
|
|

|
| This user likes this post: |
|
|
#28 | |||
|
FF.Com.Au Hardcore
Join Date: Sep 2005
Location: Brisbane
Posts: 3,568
|
Quote:
he did the daily for $175.00 and took a couple of hours to take out and replace.... he earned his money |
|||
|
|

|
|
|
#29 | |||
|
FF.Com.Au Hardcore
Join Date: Apr 2009
Location: jimboomba
Posts: 4,638
|
Quote:
__________________
Welder/Fabricator at Beaudesert Exhuast Posted by Xcabbi, Does it slap or rattle? Rattle is more to do with timing chains and tensioners. Slap is more to do with lifters, rings, bearings or GENIII boat anchors |
|||
|
|

|
|
|
#30 | ||
|
FF.Com.Au Hardcore
Join Date: Apr 2009
Location: jimboomba
Posts: 4,638
|
sorry for the thread hijackm but here is a pic of mine
__________________
Welder/Fabricator at Beaudesert Exhuast Posted by Xcabbi, Does it slap or rattle? Rattle is more to do with timing chains and tensioners. Slap is more to do with lifters, rings, bearings or GENIII boat anchors |
||
|
|

|