
|
|
 |
|
|
|
Welcome to the Australian Ford Forums forum. You are currently viewing our boards as a guest which gives you limited access to view most discussions and inserts advertising. By joining our free community you will have access to post topics, communicate privately with other members, respond to polls, upload content and access many other special features without post based advertising banners. Registration is simple and absolutely free so please, join our community today! If you have any problems with the registration process or your account login, please contact us. Please Note: All new registrations go through a manual approval queue to keep spammers out. This is checked twice each day so there will be a delay before your registration is activated. |
|
|||||||
|
|
Thread Tools | Display Modes |
|
|
#1 | ||
|
FF.Com.Au Hardcore
Join Date: Sep 2009
Location: Brisbane, Qld
Posts: 683
|
Hey Hey,
I'm replacing the fabric on my roof lining board as it is falling down and dropping foam everywhere, This is a guide to help you do it. WARNING The roof lining board is like fiber glass and gets stuck in your arms and fingers so please use gloves and don't rub the board with your fingers to remove the yellow foam like i did. Use a stiff brush or be gentle with a paint scraper. Tools Required: Philips screw driver. Rubber/latex gloves that go past your elbows. Step 1 Remove screws holding in each sun viser, Sun viser locks, Handles and hooks. Easy. Step 2 Have clean hands and pull down the rubber seal around the top of the doors. Mine were rather tight to pull off so pull harder if they wont move. Step 3 Remove both front piller trims by pulling gently from the top working your way down along the 2 clips then removing from the top of the dash board. The center piller seat belt trims pull off from the top 1st and you can let them sit on the belt down beside the seat. The 2 rear piller trims pull down from the top 1st and pop out 3 of the clips and leave the trim in place. You only need to pull the tops of the rear piller trims out to release the roof lining. Step 4 Unplug the front map lights from the back of the light casing. Pop out the center light and you can either pull the thick foam from the roof side off then pull the wiring out or just cut the wires to save the risk of kinking the board. Easy to solder them back up later. Step 5 Remove the two rear trim plugs near the back window holding the roof lining up. By now the lining should be sitting on the parcel shelf and the front seats. Step 6 Lay both front seats down flat and open all doors. Twist the drivers side of the lining down and lift the passenger side up to the roof and turn the lining anti clockwise so the front drivers side is down near the gear stick and GENTLY fold it a tiny bit and pull it out the passengers door. Easier with 2 people. Sorry i didn't get photos of removing it but it took about 15 mins to get out. Use the old fabric as a template. 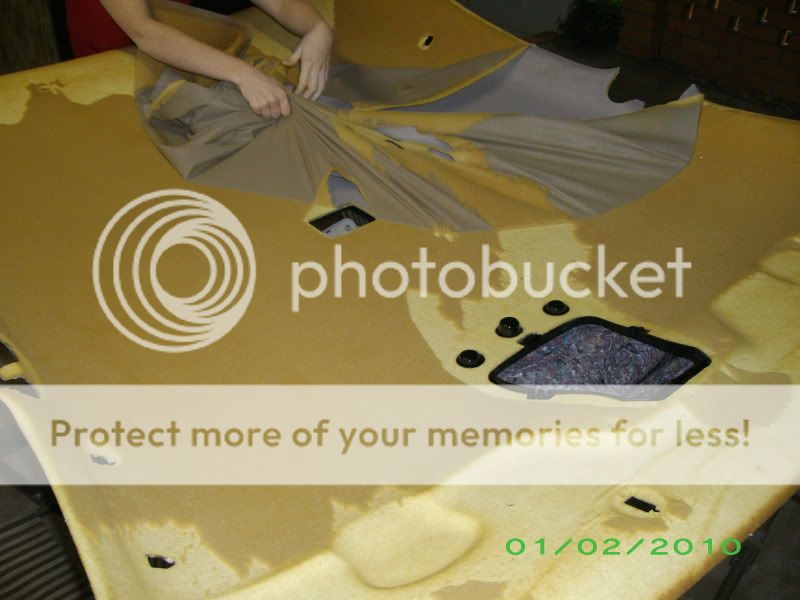 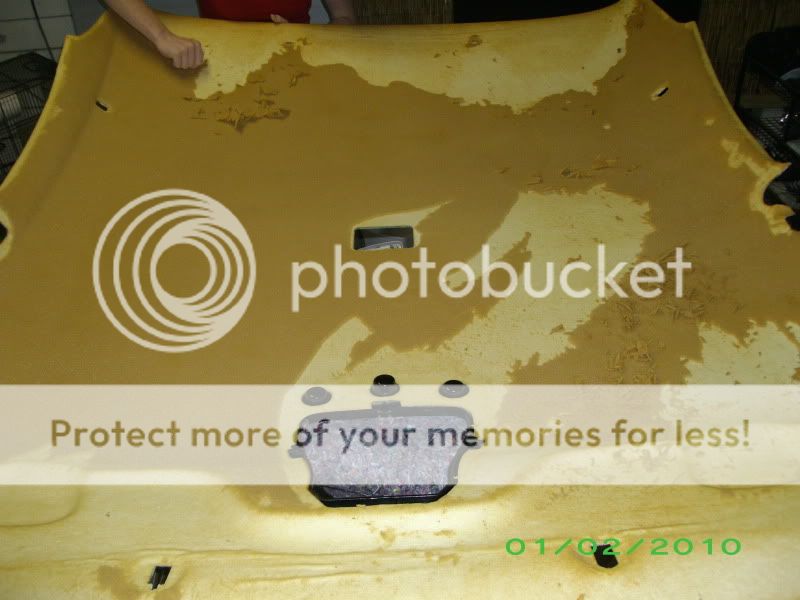 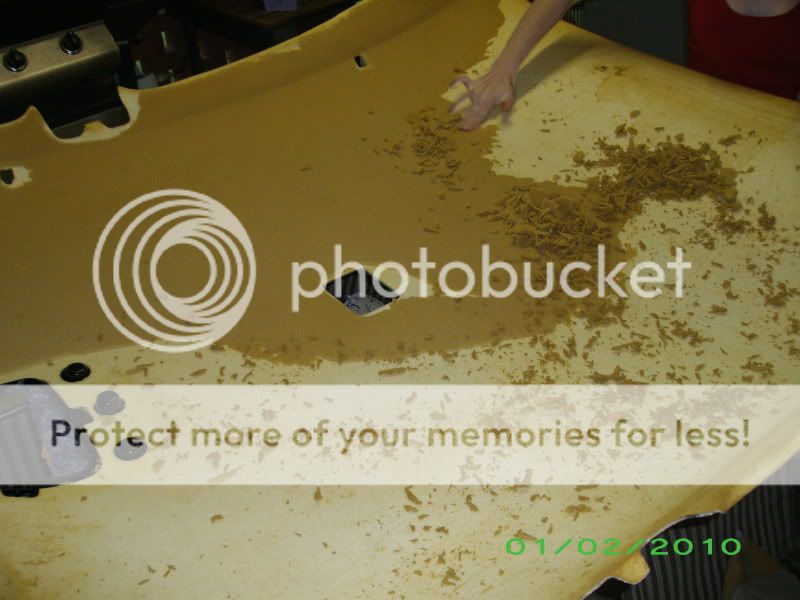 Its me doing the wrong thing and getting itchy arms and fingers. 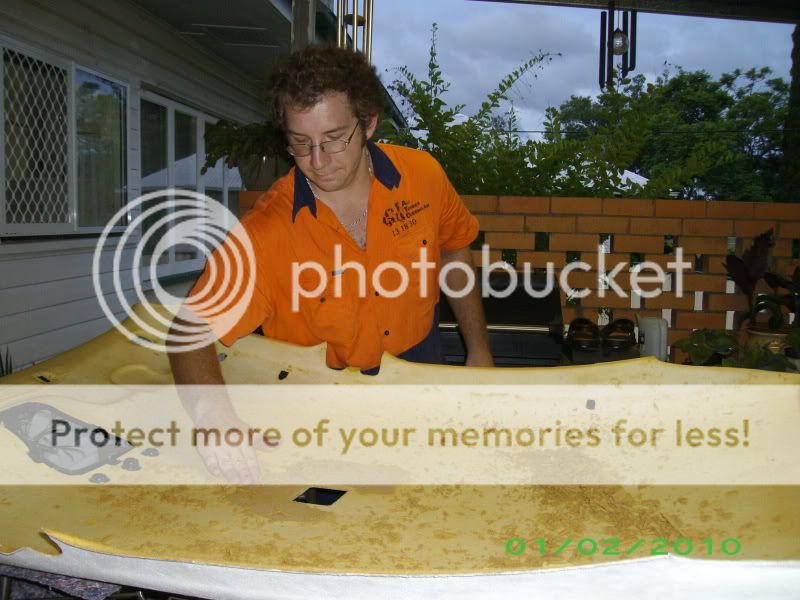 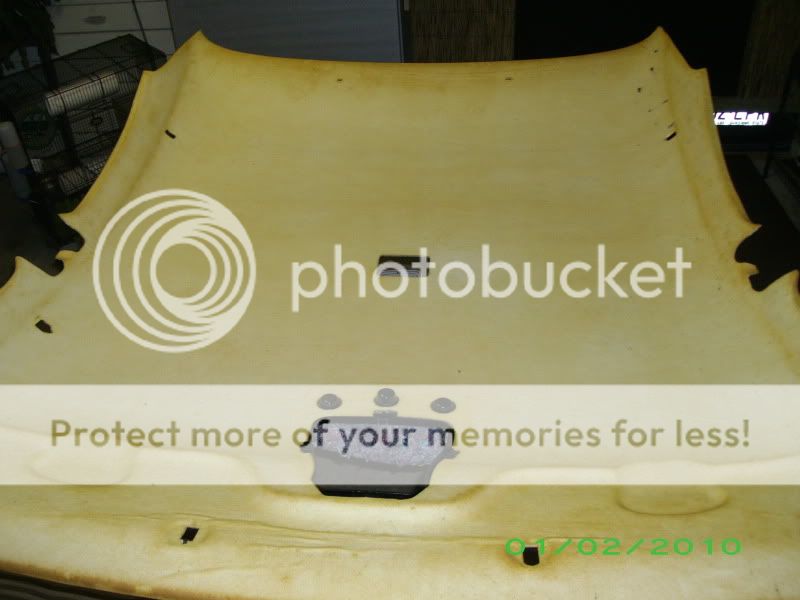 Frame for the glasses holder. 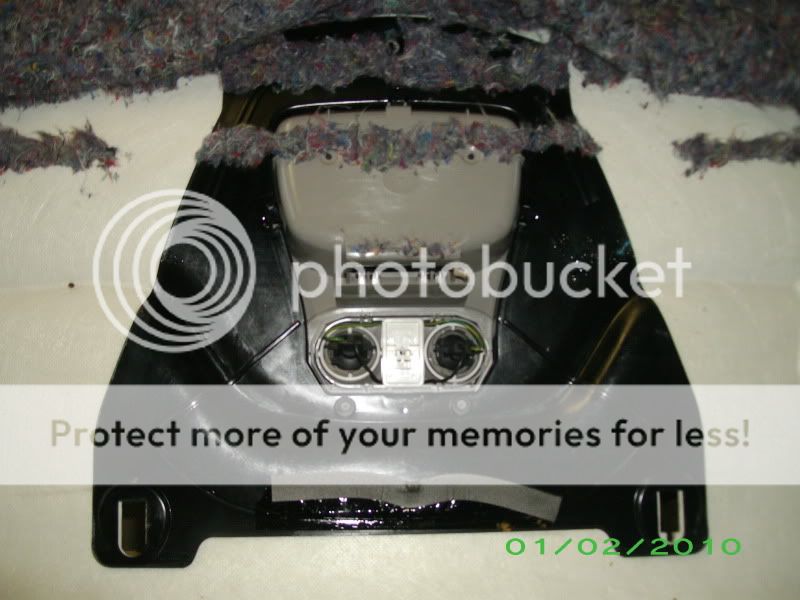 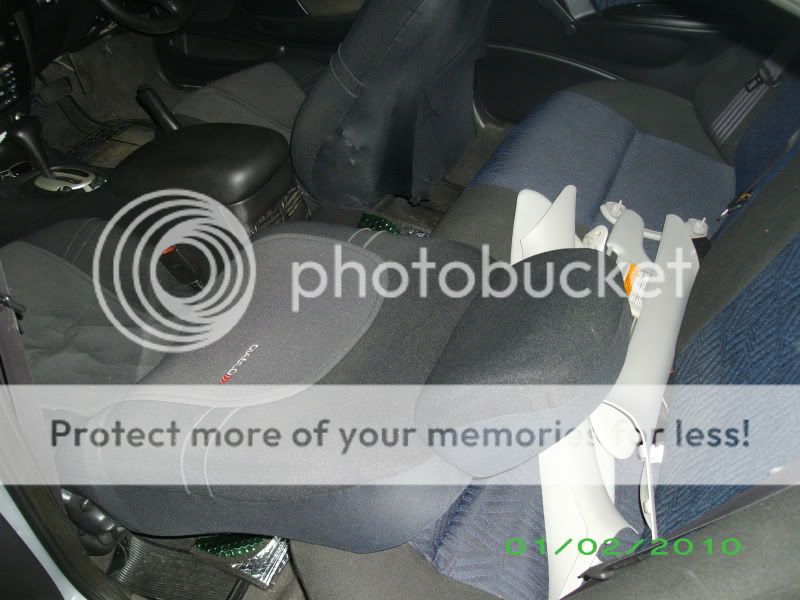 These casting marks with need to be sanded down flat before applying new fabric.  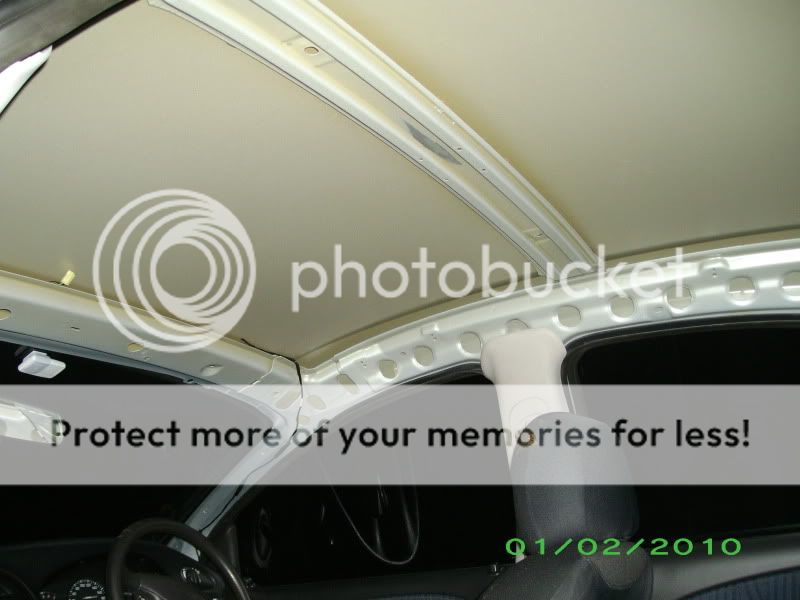 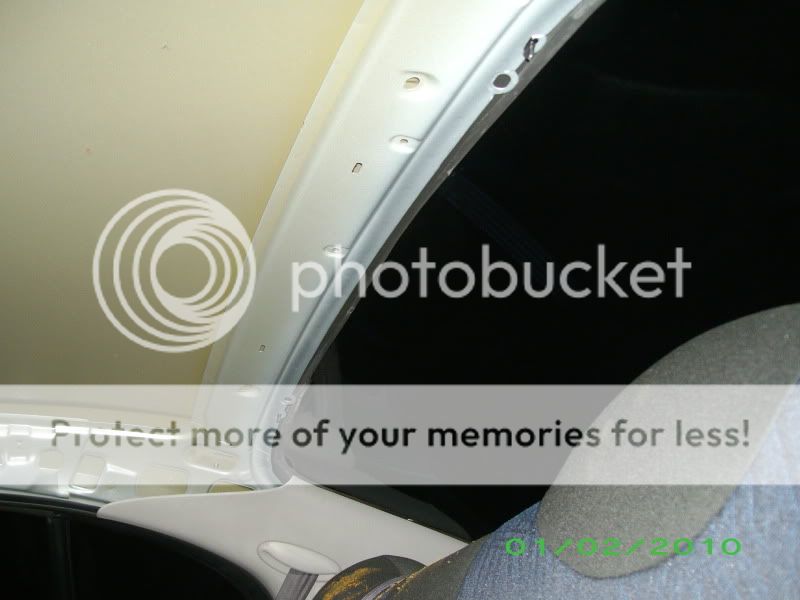 Glueing fabric and reinstalling coming soon.
__________________
AU XLS. |
||
|
|

|