
|
|
 |
|
|
|
Welcome to the Australian Ford Forums forum. You are currently viewing our boards as a guest which gives you limited access to view most discussions and inserts advertising. By joining our free community you will have access to post topics, communicate privately with other members, respond to polls, upload content and access many other special features without post based advertising banners. Registration is simple and absolutely free so please, join our community today! If you have any problems with the registration process or your account login, please contact us. Please Note: All new registrations go through a manual approval queue to keep spammers out. This is checked twice each day so there will be a delay before your registration is activated. |
|
|||||||
 |
|
|
Thread Tools | Display Modes |
|
|
#91 | ||
|
i like to be stroked
Join Date: Dec 2004
Location: between her legs
Posts: 1,926
|
luv ur work, just a question, why didnt u paint ur diff punkin red oxide, everything else looks new but that?
__________________
A good friend will come and bail you out of jail...but a true friend will be sitting next to you saying "Damn...that was fun!" |
||
|
|

|
|
|
#92 | ||
|
Regular Member
Join Date: Sep 2009
Location: lurkin in da shed
Posts: 44
|
Yeah great photos great build love ya work!!
__________________
going ford is the going thing  growing old is compulsary, growing up is optional growing old is compulsary, growing up is optional
|
||
|
|

|
|
|
#93 | |||
|
P6 LTD
Join Date: Feb 2005
Location: Perth
Posts: 3,291
|
Quote:
|
|||
|
|

|
|
|
#94 | ||
|
74xbkoop
Join Date: Mar 2008
Posts: 204
|
The build is coming along very well. Looks great. Keep up the good work. Did you get the correct shape glass or are they all incorrect? Looking forward to seeing more.
|
||
|
|

|
|
|
#95 | |||
|
P6 LTD
Join Date: Feb 2005
Location: Perth
Posts: 3,291
|
Quote:
Will try and get some more work done this week but no promises. |
|||
|
|

|
|
|
#96 | ||
|
i like to be stroked
Join Date: Dec 2004
Location: between her legs
Posts: 1,926
|
fair enough, i had my gt tailshaft balanced and it came back painted gloss black , all the factory markings were painted over...
__________________
A good friend will come and bail you out of jail...but a true friend will be sitting next to you saying "Damn...that was fun!" |
||
|
|

|
|
|
#97 | ||||
|
Regular Member
Join Date: Jan 2009
Location: Geelong
Posts: 127
|
Quote:
Quote:
Cheers -- Darren
__________________
1972 XA Coupe - Cobra Replica (Resto Thread) 1977 XC GXL - Donar Car for the Coupe Project (Initial Resto Work Thread) |
||||
|
|

|
|
|
#98 | ||
|
Regular Member
Join Date: Apr 2008
Location: Launceston. Tassie
Posts: 95
|
mmm cobra. i get very moist when i see cobra's. love your work dude
|
||
|
|

|
|
|
#99 | ||
|
Starter Motor
Join Date: May 2006
Posts: 8
|
Wow Paull, said it before - great job! Keep up the good work, not long now.
Pics have helped me heaps. Cheers Wayne |
||
|
|

|
|
|
#100 | ||
|
74xbkoop
Join Date: Mar 2008
Posts: 204
|
Hi Paull,
Had any more progress?? Any more photos??? Keen to see more |
||
|
|

|
|
|
#101 | ||
|
Regular Member
Join Date: Jan 2010
Location: Brisbane
Posts: 250
|
What an absolute joy to read! Paul, you have obviously got an eye for detail and a desire to do everything as best you can, and that is both awesome and highly valued. Great job so far. I have a soft spot for the Cobras (well, all XCs in general, actually) and watching this one come together is just fantastic.
Thanks for posting so many great and descriptive photos of her progress  Shazz
__________________
Mad Maxine: Pray that she's out there...... somewhere  1977 XC GS Coupe |
||
|
|

|
|
|
#102 | |||
|
P6 LTD
Join Date: Feb 2005
Location: Perth
Posts: 3,291
|
Quote:
|
|||
|
|

|
|
|
#103 | ||
|
P6 LTD
Join Date: Feb 2005
Location: Perth
Posts: 3,291
|
Not much of an update, more of some small progress or more to the point, lots of stuffing around and not really achieving too much.
A while back I removed the steel backing frame from the dash as it was all rusty 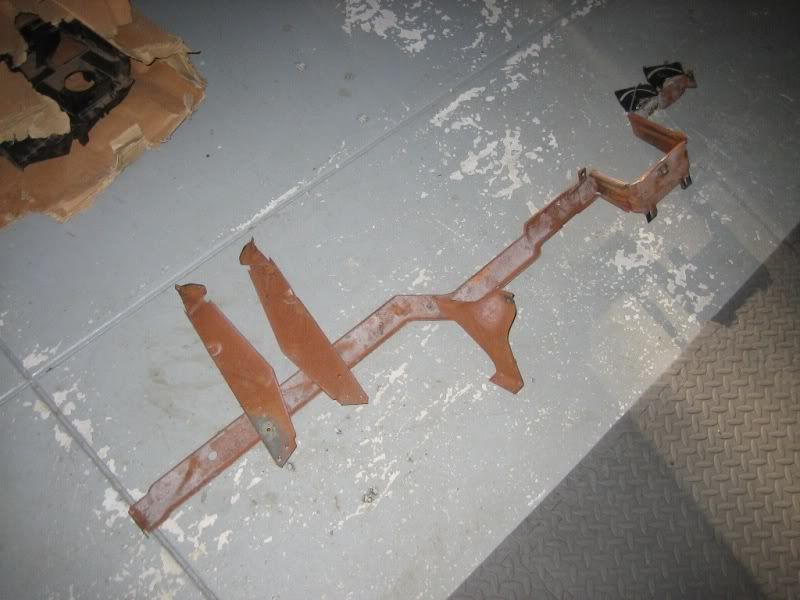 This has now been stripped back, painted and re-assembled 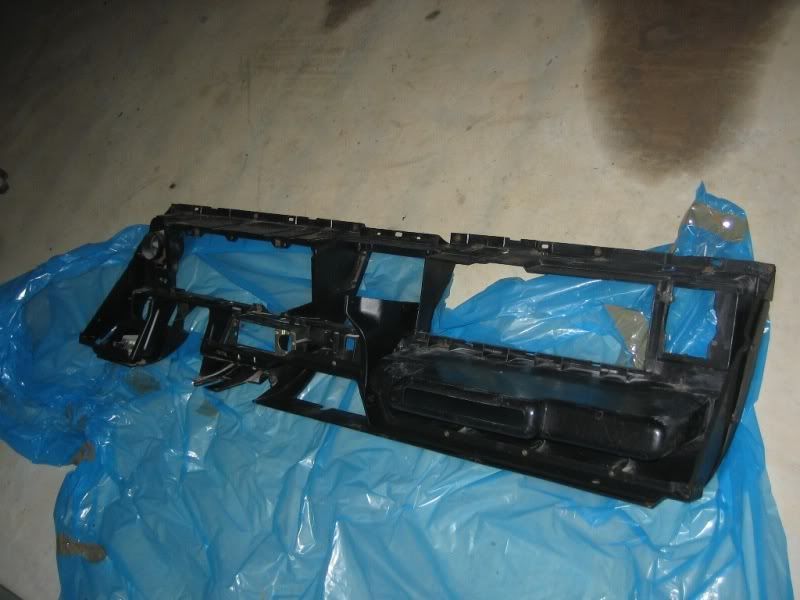 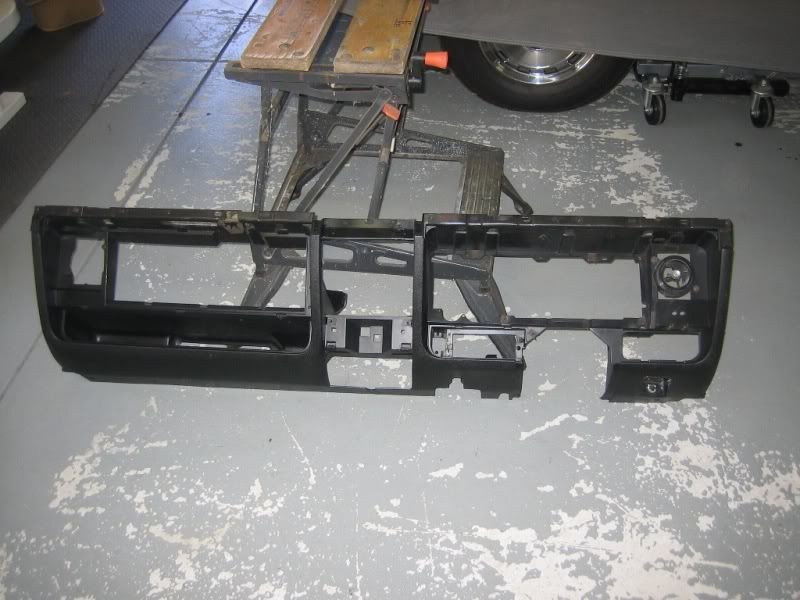 I have also had the dash centre vent for a while but after chroming, there was always something that was bugging me. As the whole vent had been chromed and then painted (where required), the small pins that fit into the housing had 'grown' too big and therefore, would not properly fit into the housing and the plastic plates that the pins are attached too, were sticking out 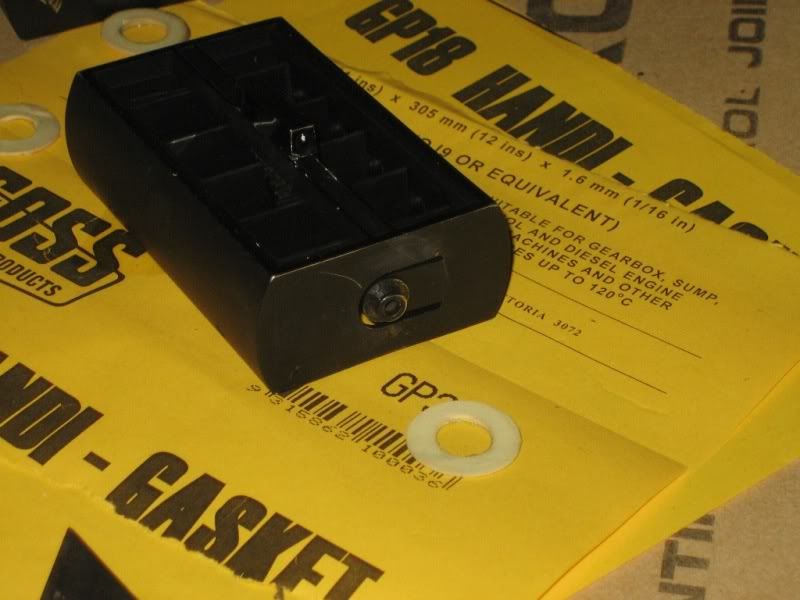 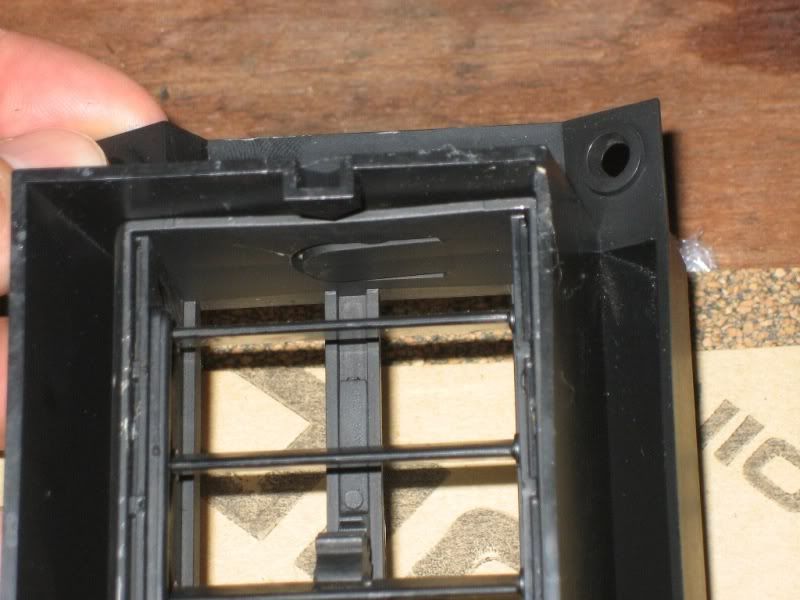 I then removed both vents from the housing, very carefully so as not to break them, tried to file down the OD of the pins, with little success, so I then got the right sized drill and drilled out the housing holes. Upon re-assembly, all is now good. 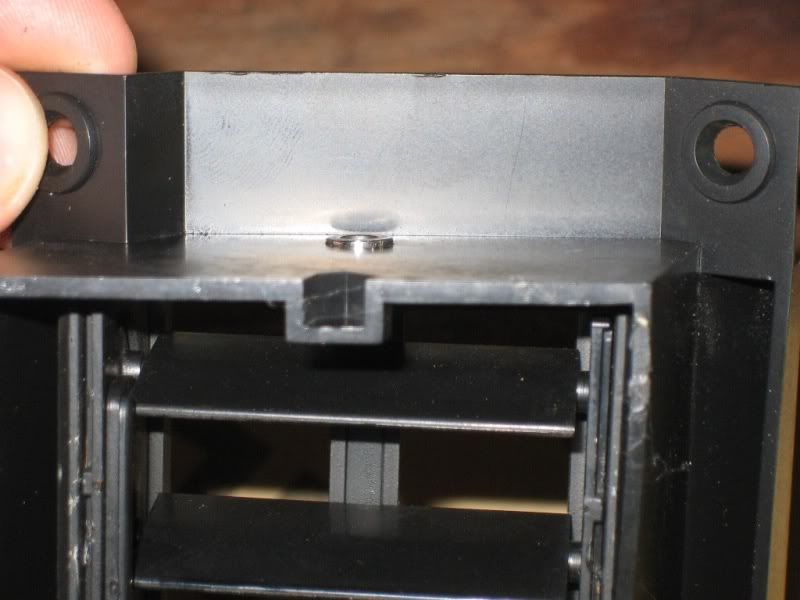 I have also fitted a new glove box lock and in doing so, I had to remove the old one. 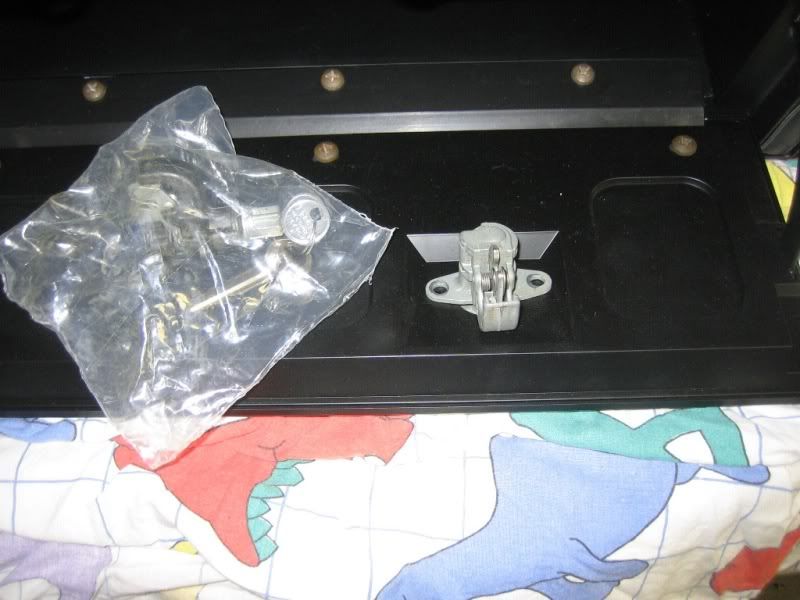 Having looked in the XC Falcon/Fairmont workshop manual and the ZH Fairlane/Marquis workshop manual, no instructions were shown as to how to remove it. The parts manual shows an exploded view, as does the P6 LTD workshop manual (shows what appears to be a screw retaining it all and am thinking that this is simply the Key for the lock), so I grabbed a spare P6 glove box, got a little bit 'scientific' and found that it is simply a spring locking ring. 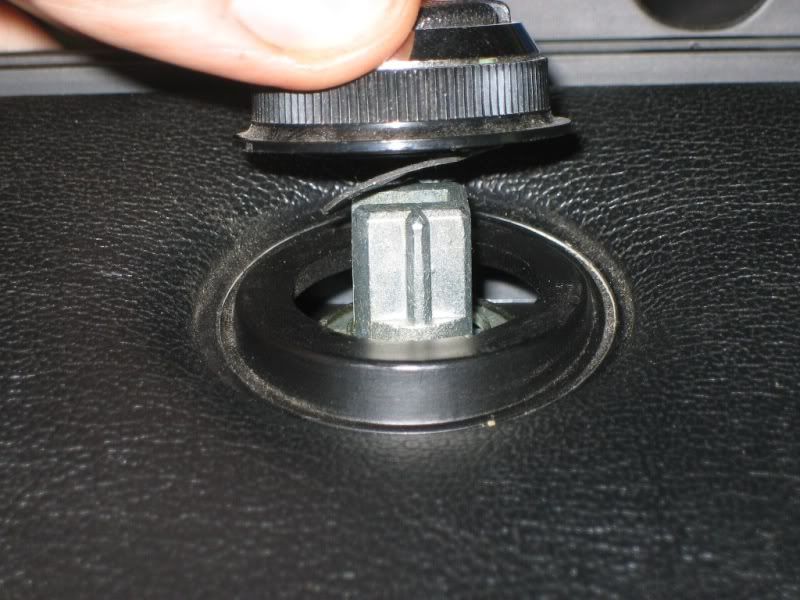 So all is now good. 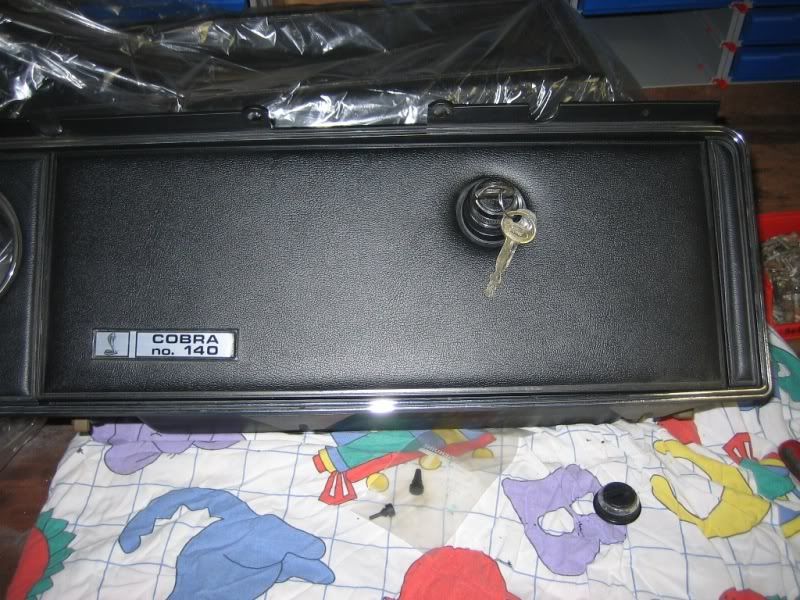 I also fitted a new glove box light as well. 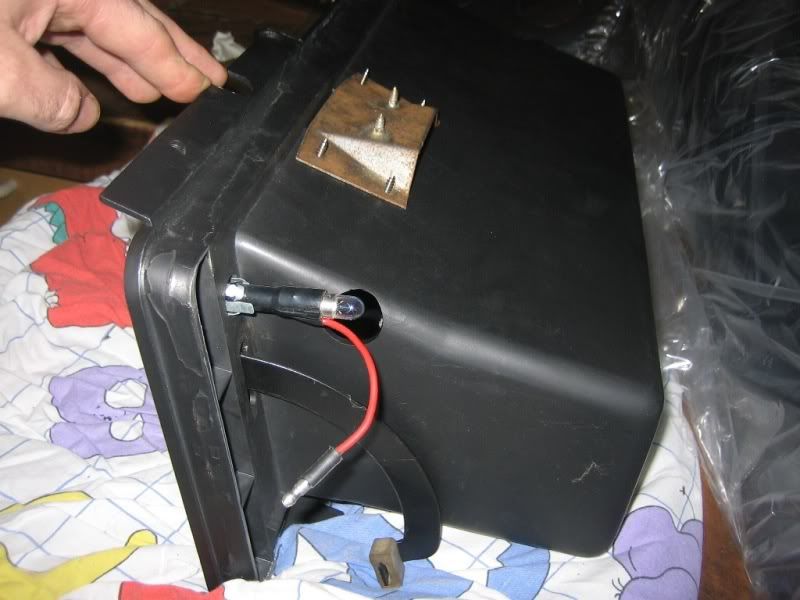 Lastly, I had gotten all of the anodized nuts, bolts and fittings back, some of which were for the hand-brake mechanism. However, upon assembly I realised that I was missing the two small nuts that hold on the 'hand-brake switch' to the hand brake, they must have either been lost in the plating tank or simply eaten up??? At any rate, another 2 were bought and the hand brake is now ready to go. 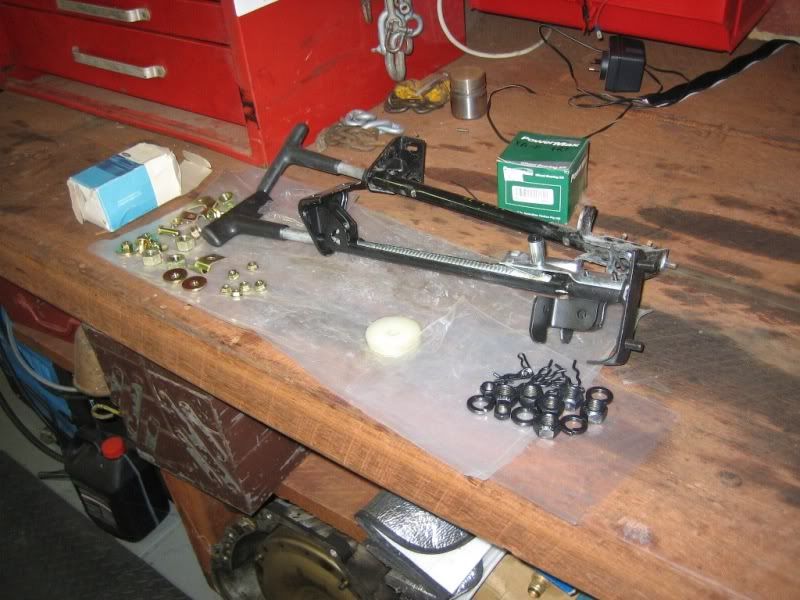
|
||
|
|

|
|
|
#104 | ||
|
P6 LTD
Join Date: Feb 2005
Location: Perth
Posts: 3,291
|
After I had as much done on the Dash as I could, I then moved onto the Grille, what I thought would be a straight forward job, not quite
 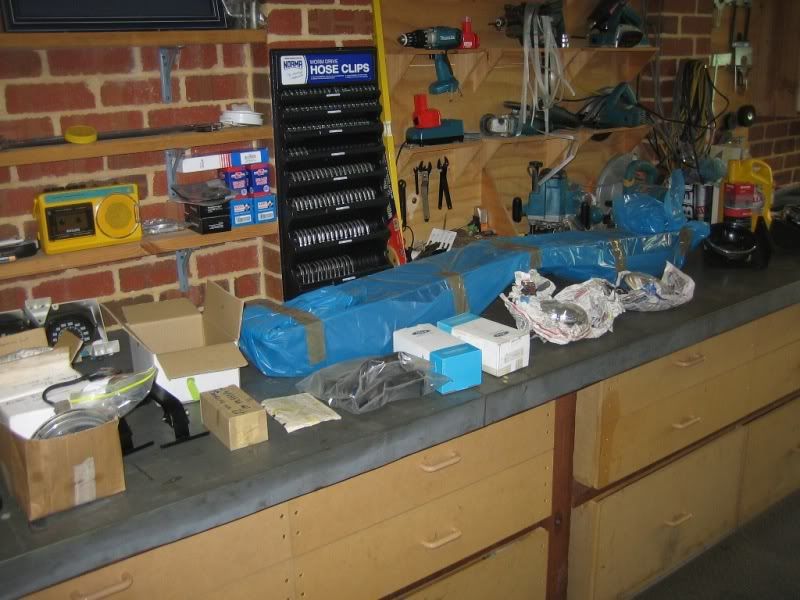 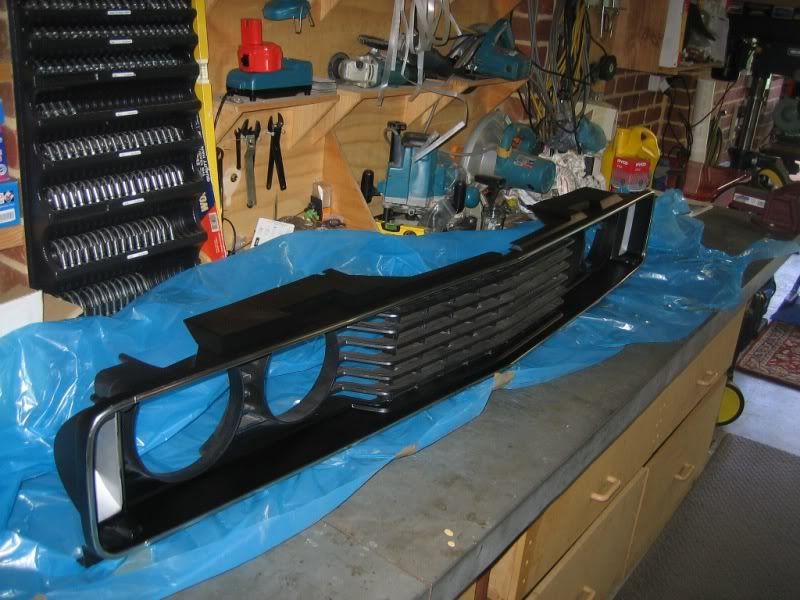 To begin with, the recently 'overhauled' driving lights, one of them had grown a crack in the lense (original one in mint condition), so I changed both over to the later versions, but still original Hella lenses. 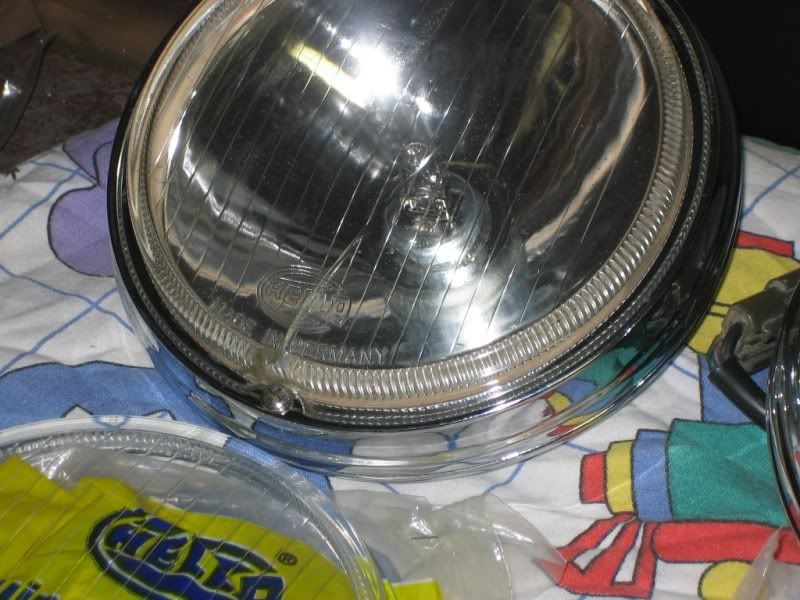 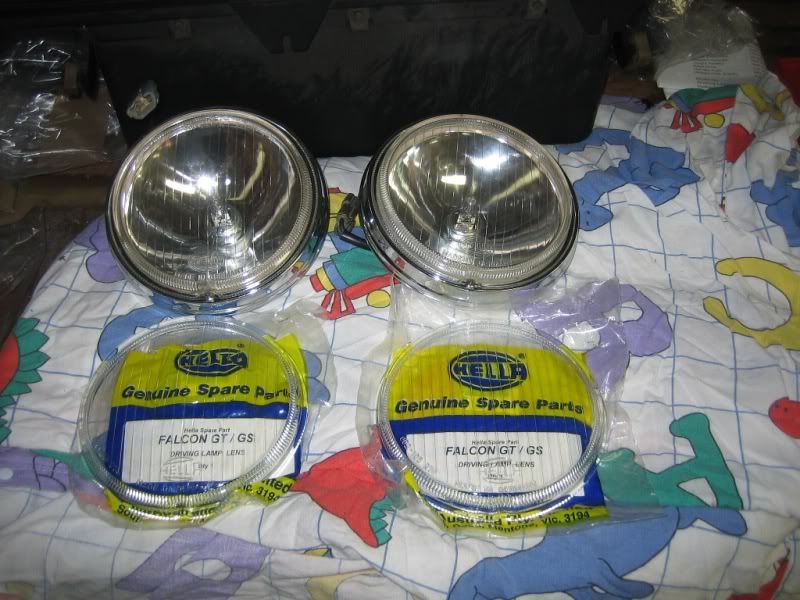 Upon fitting into the brackets, one went nicley but the other, the whole lense is offset, so I am either going to have to try and straighten the bracket or get another one, so this is as far as I can go for now. 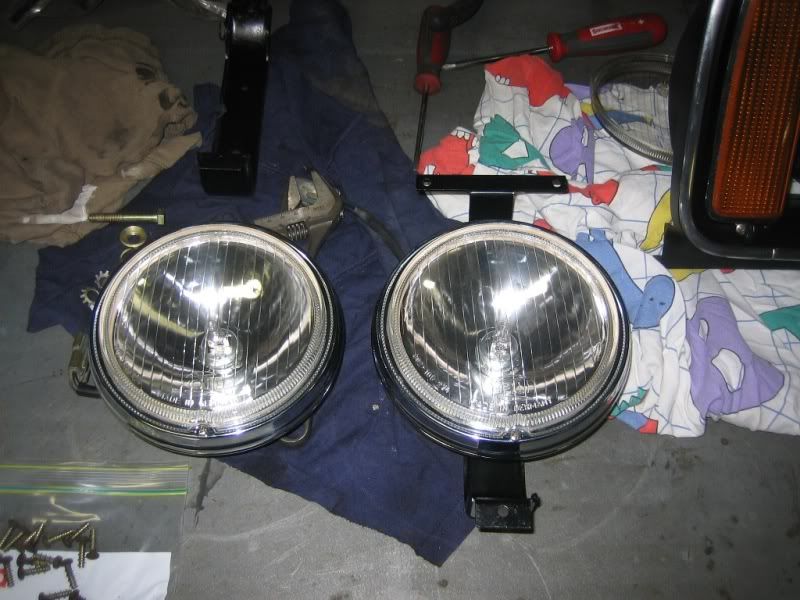 I then started on the indicator lenses and quickly found that I did not have any gaskets, but seeing that I had heaps of cork gasket material, I'll simply make two and that should suffice. 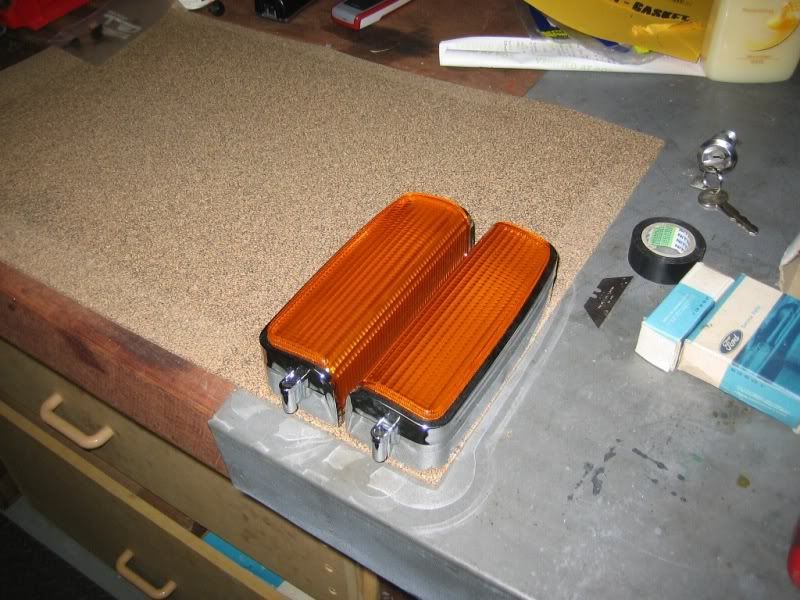 And they were cut out and fitted reasonably well 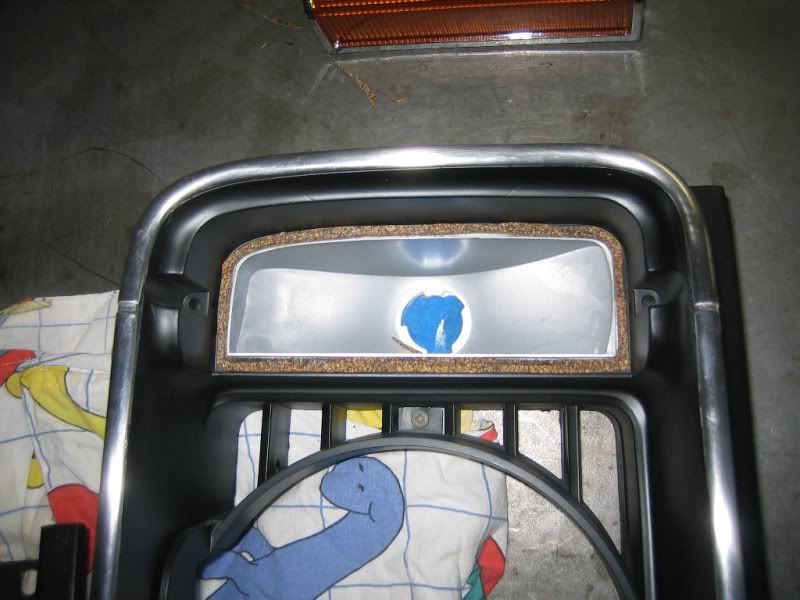 Only thing was though, after going through all of the stuff that I have bought (and completely forgotten about) over the years, I found these  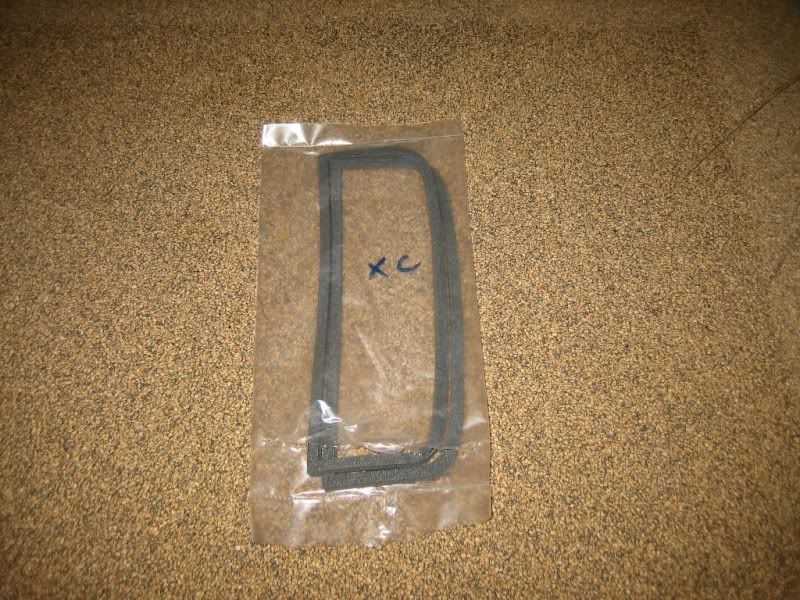 I also have had the head light buckets for a while too, only problem is, I am still waiting one getting new headlights, a feat proving to be quite difficult. 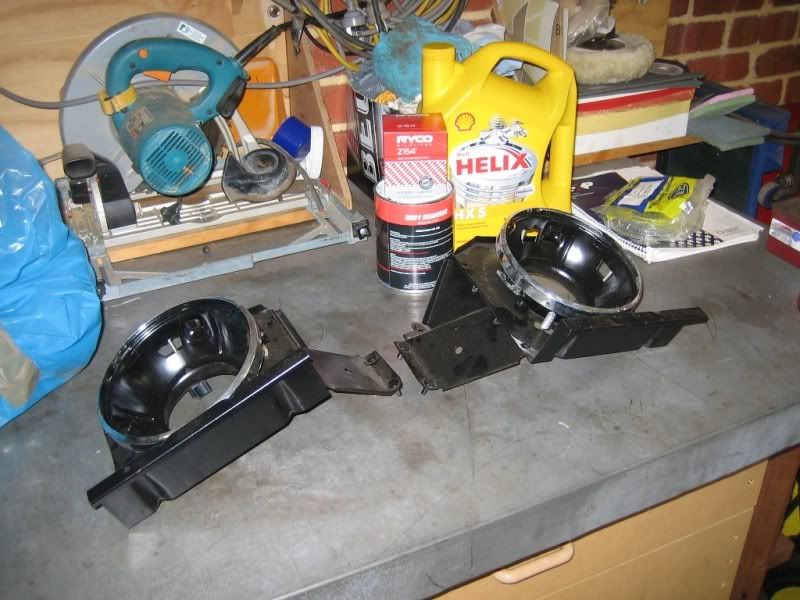 I have a new Grille centre badge and holder as well, but as with the above, I cannot find the retaining plates (new ones) so old ones will have to be painted today 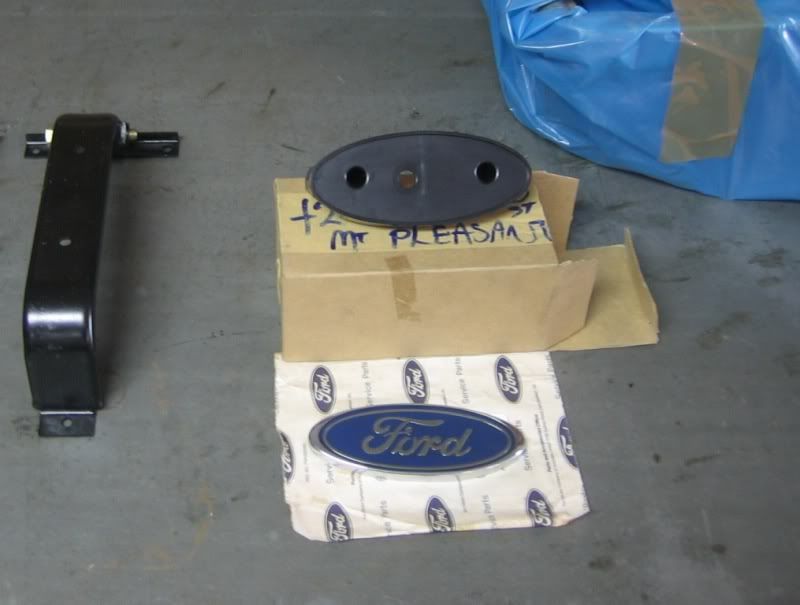 So in effect, this is as far as I can go for now 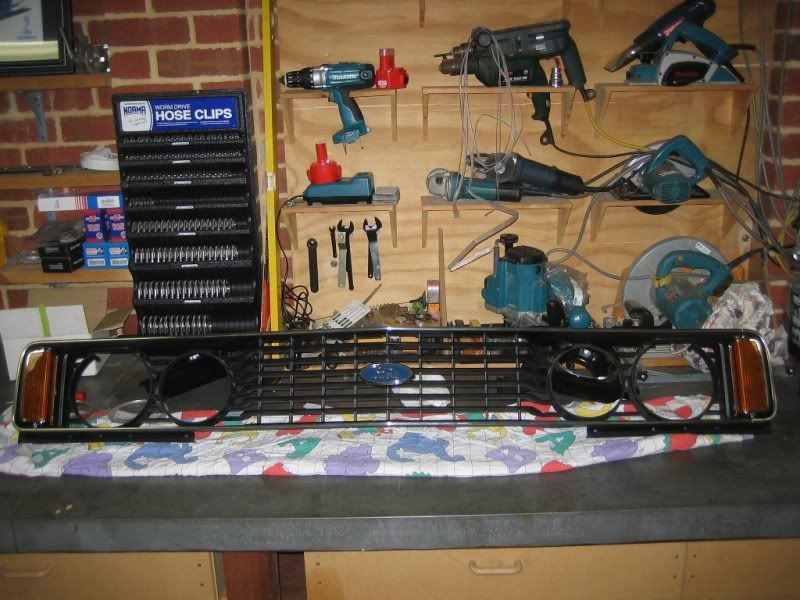
|
||
|
|

|
|
|
#105 | ||
|
P6 LTD
Join Date: Feb 2005
Location: Perth
Posts: 3,291
|
Another job that is proving to be quite difficult is that of the HVAC unit. I had initially given the complete unit to a friend of a friend (AC specialist). He then tested the Evaporator and it held vacuum for a few days so all was good there. He also replaced all vacuum hoses, especially the ones going into the engine bay as the old ones had perished. Only problem was with the heater core.
He had the first one dis-assembled and it was found that the insides had corroded 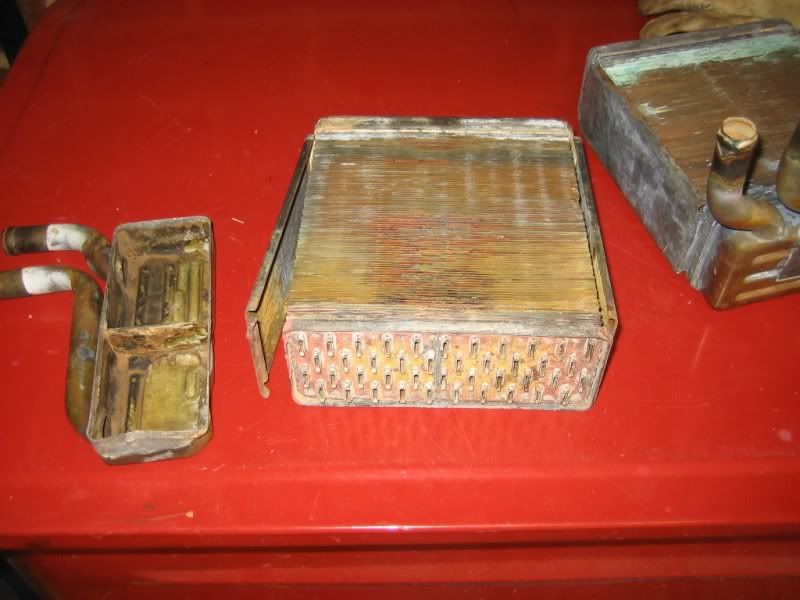 So I then gave him another complete unit, of which he pulled it apart, removed the heater core, only to find that this one had also corroded. To cut a long story short, I then dis-assembled another unit and got the heater core out of this one 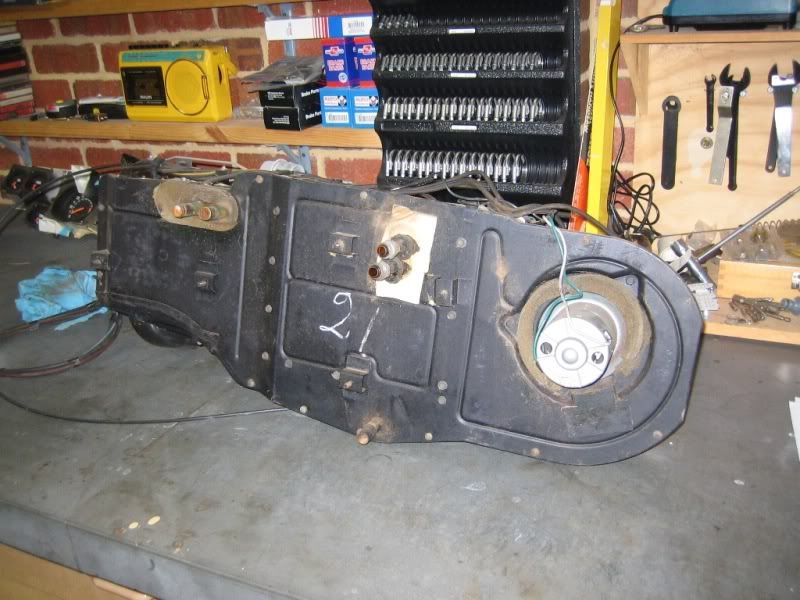 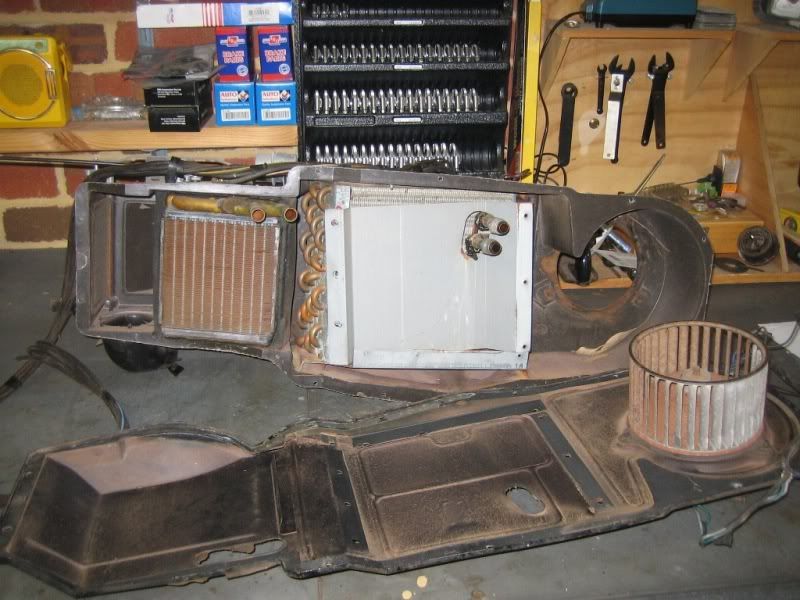 However, I have now taken all heater cores to this company http://www.corradiators.com.au/ They are making up new cores and then soldering in the original tanks. In effect a new heater core for $185 + GST. Am also getting a few spares made up as well. I will post up pics when I get them back, hopefully in a few days. Once back, I can then pass onto the AC man, and he can then re-assemble the HVAC unit. Today's jobs This stuff needs to be stripped back and then painted 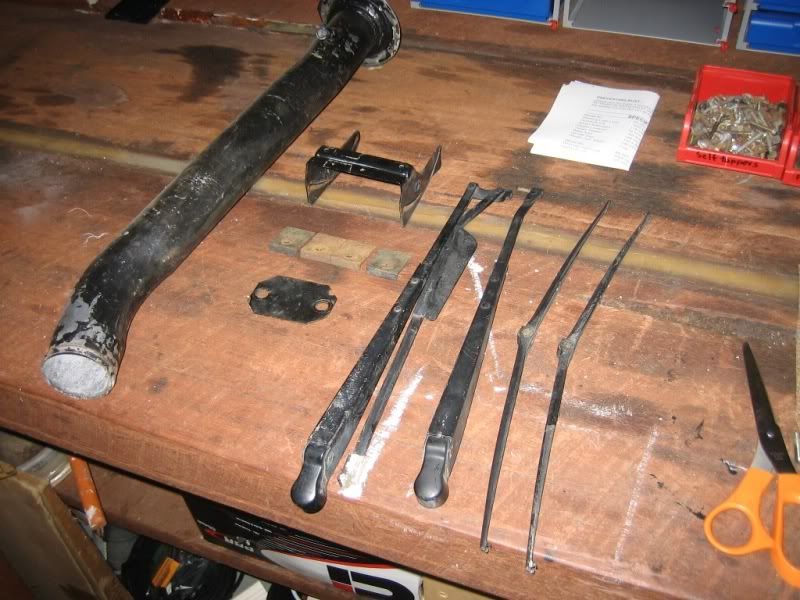 And then the really crappy job, painting the floor pan with body deadener 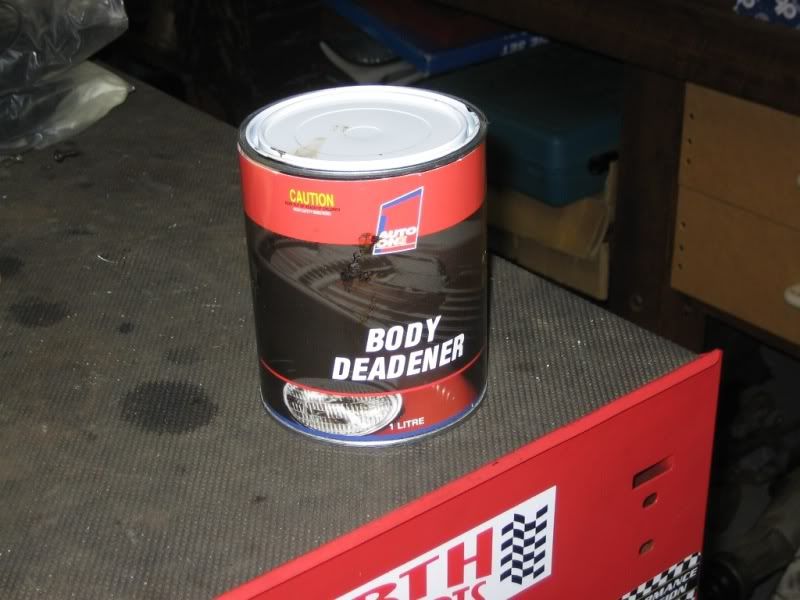
|
||
|
|

|
|
|
#106 | |||
|
P6 LTD
Join Date: Feb 2005
Location: Perth
Posts: 3,291
|
Quote:
|
|||
|
|

|
|
|
#107 | ||
|
Starter Motor
Join Date: May 2006
Posts: 8
|
Great work Paull, keep the good work up. I don't want your to hijack your thread mate i'm learning heaps here! On holidays in Vic at the moment, also catching up with a few Cobra guys, catching up and researching.
http://s930.photobucket.com/albums/a...d/Cobra%20175/ Got a few things to change, Paull thanks for your help. Cheers wayne |
||
|
|

|
|
|
#108 | |||
|
Regular Member
Join Date: Feb 2009
Posts: 326
|
Quote:
You wouldnt be willing to sell the leftover parts from this second AC would you? I am also refurbing one and need a bunch of parts (Plastic casing and some misc parts) Cheers Russ |
|||
|
|

|
|
|
#109 | ||
|
74xbkoop
Join Date: Mar 2008
Posts: 204
|
Hi Paull,
Good to see you have made some more progress. Just hoping I could trouble you for a photo of the other side of the heater box you have pictured. I am looking for a shot of the plate that goes over the fan drum (cabin side) if possible. I cant upload shots of area due to camera problems at the moment. Regards Anthony |
||
|
|

|
|
|
#110 | ||
|
FF.Com.Au Hardcore
Join Date: Apr 2008
Posts: 1,264
|
I missed this build in the Coupe Club section. Pretty impressive effort Paull, attention to detail awesome. I like seeing a detailed build like this, sometimes I feel in my own build I'm going to far with it and I should maybe cut a few corners. Your build shows what you can do, the level that you can take it to and I should keep trying to get as much right on my own build as I can. I don't think I'll get it to your level Paull but it does provide great inspiration.
|
||
|
|

|
|
|
#111 | ||
|
FF.Com.Au Hardcore
Join Date: Jan 2006
Location: Perth, Western Australia
Posts: 549
|
I have a few XC Driving light brackets, will put them aside. What brand headlights are you chasing?
|
||
|
|

|
|
|
#112 | ||
|
Regular Member
Join Date: May 2009
Posts: 391
|
geez this has gone a long way
 any updates?? any updates??
__________________
Dads car: 2010 FG XR50 Turbo, Nitro, 6 speed Auto, Leather, Reverse Censors, Premium sound, Red Callipers, Headrest Tv's  Brothers car:
Ba XR6 5 speed manual, LSD, 22's and 20's, gt spoiler,gt bonnet, leather, premium sound, Bf tail lights, coilovers, typhoon gauges, supercharged, 3 1/2 inch exhaust, Bf GT bar soon to be painted  |
||
|
|

|
|
|
#113 | ||
|
PURSUIT 250
 Join Date: Mar 2009
Location: sydney
Posts: 5,848
|
i hate these threads where i think ill see a finished car and all i get is let down.
great cobra and i cant wait to see more |
||
|
|

|
|
|
#114 | |||
|
FF.Com.Au Hardcore
Join Date: Mar 2008
Posts: 954
|
Quote:
Has this been done? Any more been done? Pics please. cheers George |
|||
|
|

|
|
|
#115 | ||
|
P6 LTD
Join Date: Feb 2005
Location: Perth
Posts: 3,291
|
The heater core has been done and I must say, an absolutely excellent job indeed! It has been installed back into the HVAC unit and is awaiting fitment into the car.
With respect to the rest of the work, well, not much has happened. I have painted the sound deadener onto the floor and that's about it. In effect, I have been busy with work as well as being OS for 4 weeks as well as family stuff. I have been meaning to get onto it but there have been just too many other things happening. In short, there wont be much happening until ...... hmmm, pass. Maybe sometime late next year :o(((((( |
||
|
|

|
|
|
#116 | |||
|
P6 LTD
Join Date: Feb 2005
Location: Perth
Posts: 3,291
|
Quote:
|
|||
|
|

|
|
|
#117 | |||
|
P6 LTD
Join Date: Feb 2005
Location: Perth
Posts: 3,291
|
Quote:
Well, I have had a few smaller parts painted namely the wiper arms and a few other parts. |
|||
|
|

|
|
|
#118 | |||
|
P6 LTD
Join Date: Feb 2005
Location: Perth
Posts: 3,291
|
Quote:
And yes, I know, I still have those measurements to get for you. Will be done when I have time, apolgies for that. |
|||
|
|

|
|
|
#119 | |||
|
P6 LTD
Join Date: Feb 2005
Location: Perth
Posts: 3,291
|
Quote:
|
|||
|
|

|
|
|
#120 | |||
|
P6 LTD
Join Date: Feb 2005
Location: Perth
Posts: 3,291
|
Quote:
|
|||
|
|

|